Digital Bodies

3D Scan
The first thing we had to do this week was to try scanning bodies and object in 3D.
For this assignement, I decide to try out different tools and application to clarify and understand which tools can be interesting in different context. The new Ipad Pro 2020 model comes with a lidar technology along the cameras, this should help achieving greater scans if the applications make use of it.
I decide to try out Qlone first. Qlone is a application avaible for IOS and Android, while it is not entirely free, it is very cheap. For Qlone to work, we need to print a paper mat that will serve as a reference for the scan, the object as to sit on it, so the bigger the object, the bigger mat you'll need. Since I only have a normal 8.5"/11" printer, I was only able to try out very small object with this application, but the result were quite impressive.
The process is prety straight forward, print the mat, sit an object on it and start scanning by filling the virual sphere that surround the object. Very intuitive and quick to use, here are some result I got out of it.
Next I decide to try out an other application called 3D Scanner App, I know, maybe not the most orignal name... The thing that is very intersting with this new app is that it uses the Lidar techonoly integrated in the new Ipad model, in fact, you can't use the application without it. The app is totally free and very intuitive, all you have to do is press on the record button and point at what you want to scan.
From my test, The application is incredible to scan bigger object, rooms even. But struggle to capture smaller objects, I love this since it created a synergie with Qlone. Here is my sofa:
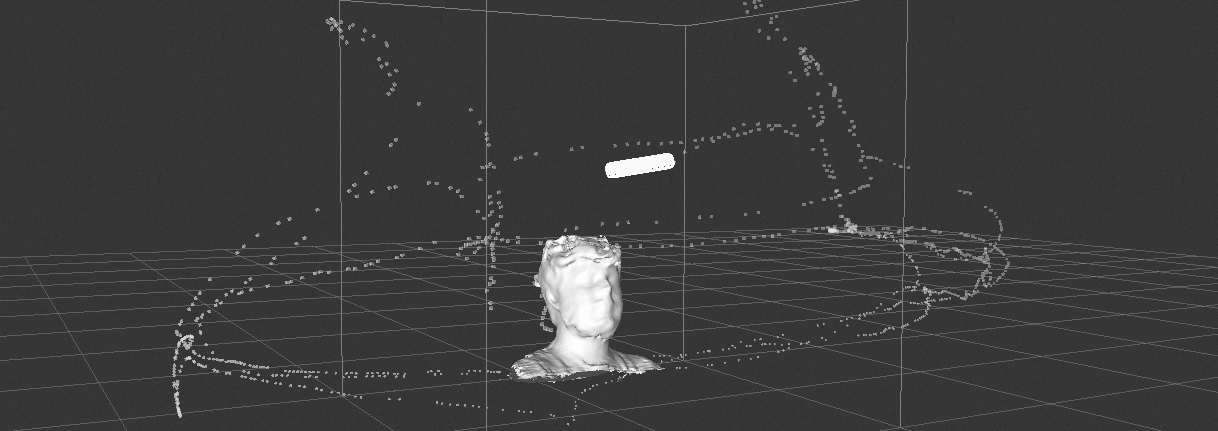
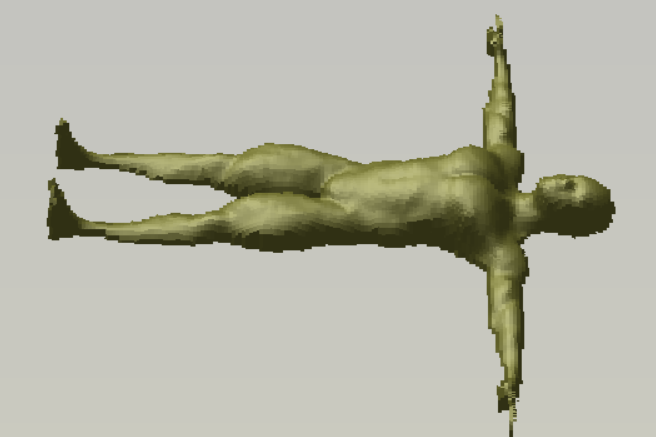
My process for reaching good result with the kinect is to sit down on a bench that can freely turn 360 degrees and slowly rotate while not moving my head, each 45 degrees, I slowly bring up and down my head so it can capture the dead angle. I do 2 full turns like that and then stop the scan.
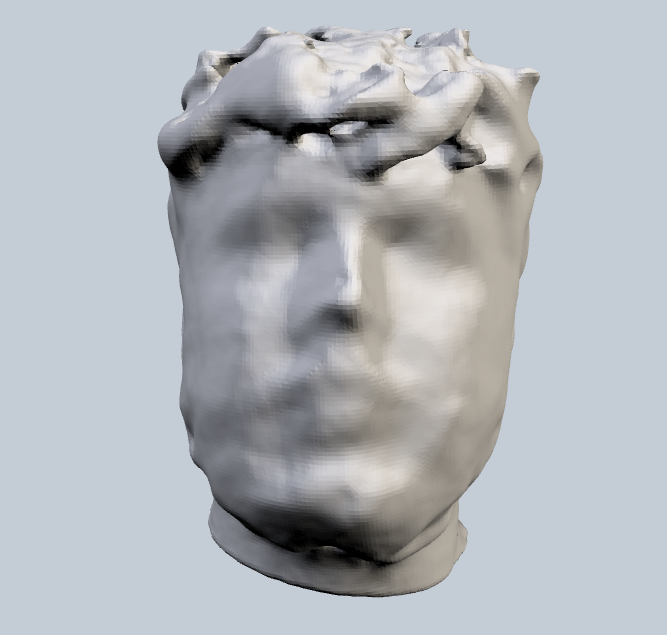
Now that the scan is done, I can simply use Skanect to crop my shoulders so I can keep only my head.
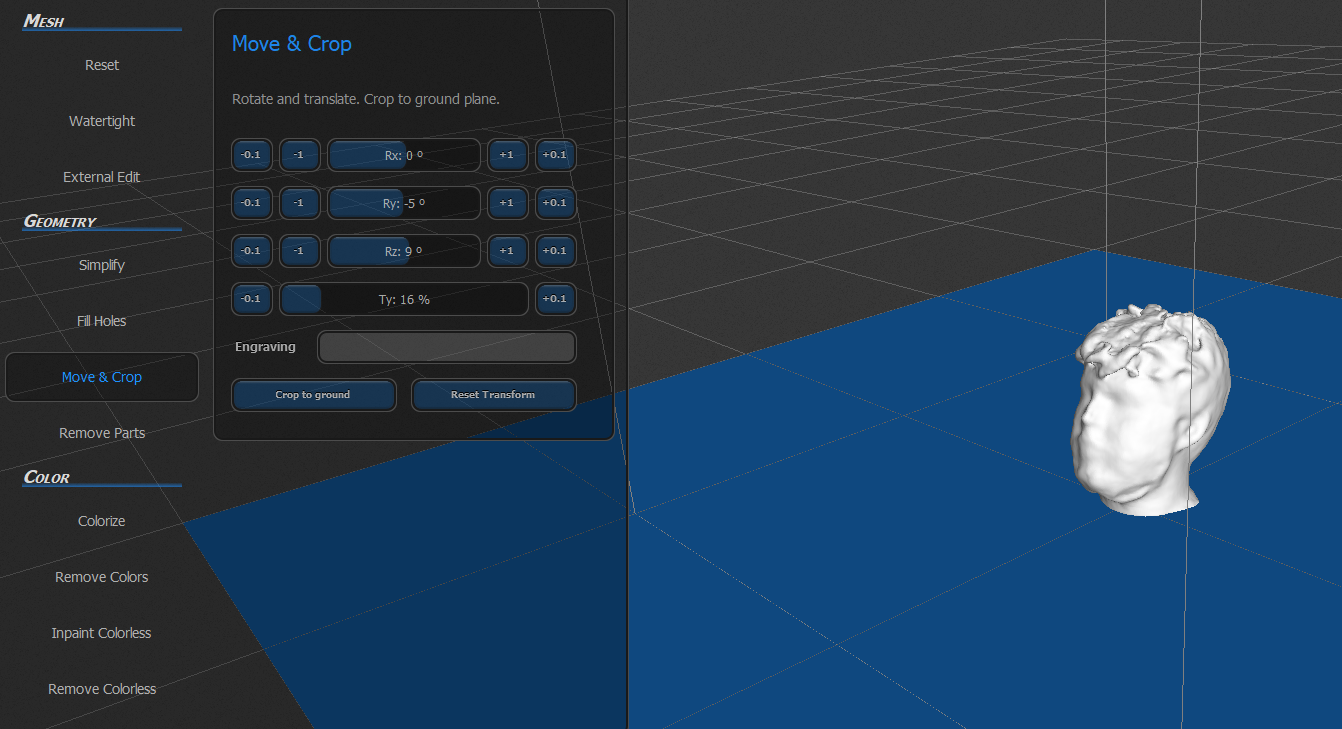
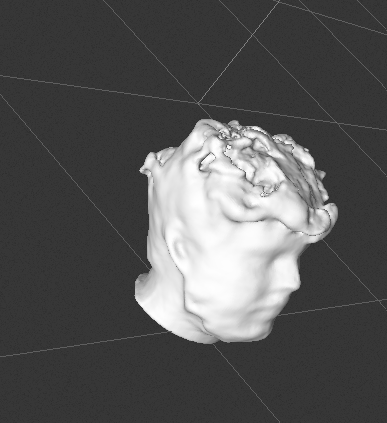
All I have to do now is to export this model as an .OBJ file (from what I experiment, .STL export from skanect are very sketchy and does'nt import well into other programs). Once I have the .OBJ file, I will be able to import it into Slicer for Fusion360 so I can Slice the model and make myself a nice mannequin head.
Slicer For Fusion360
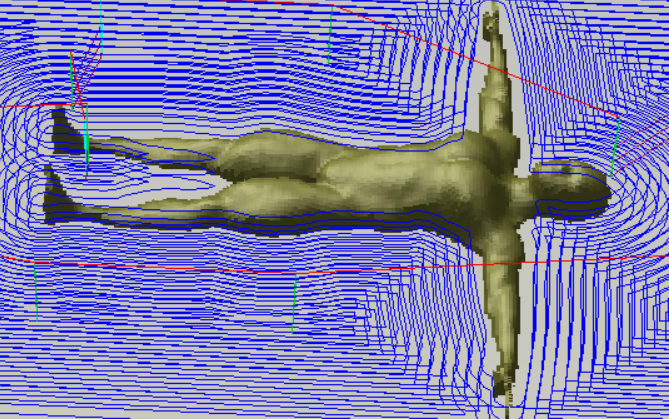
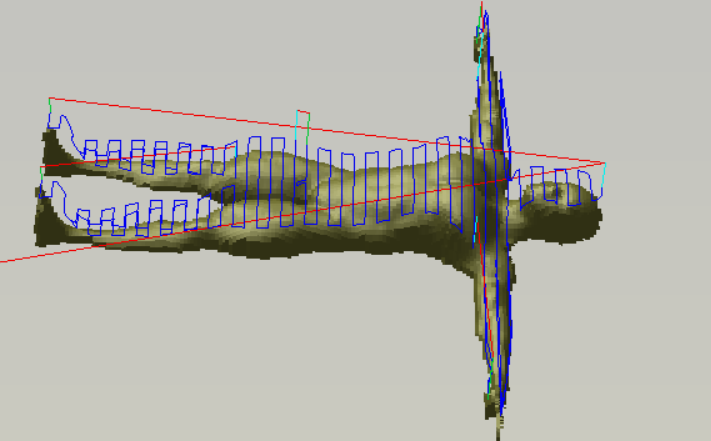
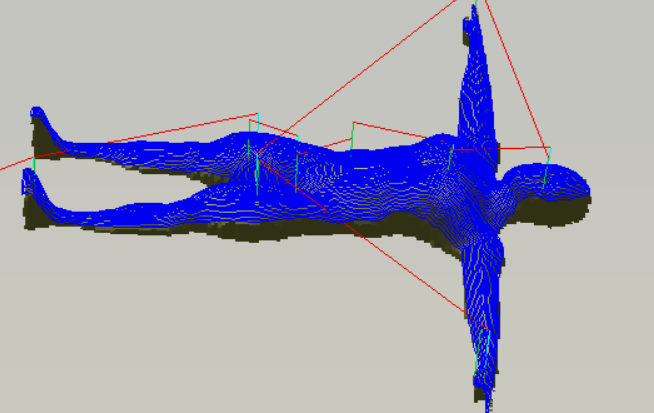
After that I can import my .OBJ file and set the dimension of the model so it is approximatly as big as my real head. Then I can play with the different slicing option and the angle of the slicing, I wanted to do a stack slice with an interesting kind of organic angle. After tweaking a bit I achieve a result that I liked. The goal for me was not necessarely that the model needs to ressemble me, I wanted more like an artistic and abstract expression of myself.
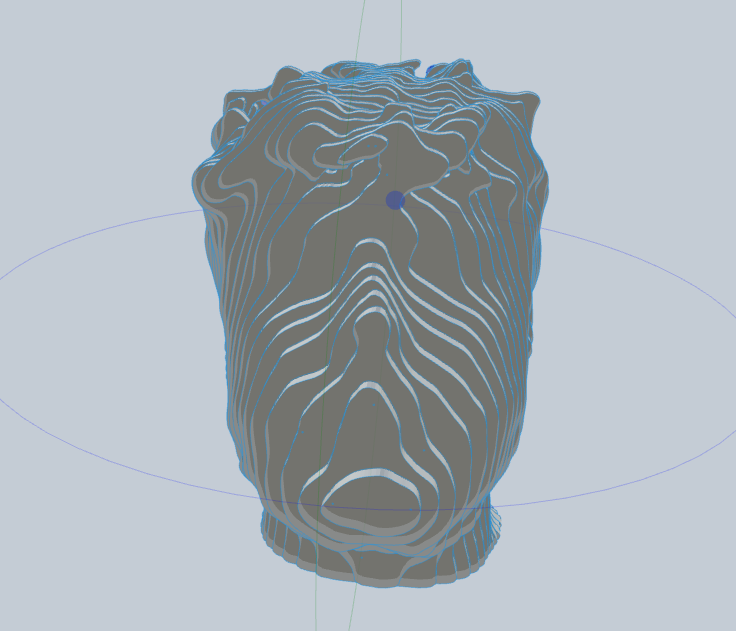
Once generated, Slicer nest and numbers the peaces by itself, The nesting is far from incredible and I normally use Deepnest.io for nesting more optimally, but since I only need 4 sheets of plywood for this job I went ahead and use the default nesting made by slicer.

Laser Cutting
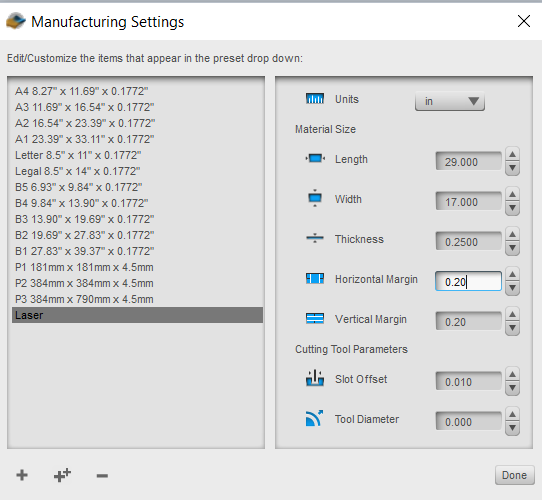
Anyway, all I have to do for this particular job is to make sure everything is in order, I changed color to green and cyan but it's only because I am used operating my laser with these two colors. Make sure opacity is set to 100% and that everything is the right scale and fits inside my 29"/17" laser. Once all of this is done I can send the drawing to Jobcontrol wich is the Trotec software for operating jobs on the laser.
Inside job control, I can set my parameters for each color of my drawing, since I'm cutting 1/4" (6mm) I need to operate my 60 watt laser a bit slower than usual, I've been operating this perticular machine for over 5 years now so I am quite used to set parameters for all kind of materials. Here are the basics, there are 3 main parameters, the power, the speed and the frequency. I also briefly want to explain the importance of the focus when laser cutting.
Power
determine the wattage of the laser during the job, so if I set it to 100%, it will run at 60 watt. You might want to bring down the power when cutting trough thinner and softer materials, also very flammable material, such as fabric, paper, cardboard, etc...Speed
determine the mechanical speed of the arm controlling the head of the laser, it's no rocket science, the slower you go, the more time you pass on the material, the deeper it'll go, but also, the more it will burn. People are often surprise to see that for cutting we use very slow speed, such as let's say 0.25% for a quarter inch plywood, but we have to remember that the speed parameters is also used for the engraving process, to put numbers on this, the speedy 300 lasercutter is able to go as fast as 4.2m/s, 0.25% of this is still 1.05cm/s wich is still pretty fast.last thing about the speed, since we have numbers to write on our jobs, but it is not use for anything but information, we can mark these number instead of engraving them, to do so, I set up the speed so fast that it will mark the numbers without cutting the actual plywood, this is called marking and is a way to save a lot of time since engraving is another process that takes more time to complete depending on the design you have to draw.
frequency
is calculated in Hz, an Hz is a way to measure "something"/S. In our case, it determines the number of laser pulse/second. This can be critical to control the temperature of the material your cutting, for exemple, to make nice round cuts with acryliq, you need a higher temperature, to do so, you can bring up the frequency. But if your cutting wood and wants to keep the edge of the wood as clear as possible, then you'll do the inverse and bring down the frequency.The focus
to understand why a good focus is needed for we have to understand how the laser enters in contact with our material, just like a pair of googles, there is a lense inside the head of the laser, this lense converge the light onto a focal point, this is where the laser is concentred and is at it's most efficient, once you pass by the focal point, the light start to diverge. there is a focal window where the laser is capable of being efficient, pass this window, it gradually loose its efficiency. This divergence also create a variance in the kerf of the laser, so no matter how small the difference may be, the upside cut, if focused correctly will always be smaller than the outside cut. This can be taken into consideration when doing pressfit design where your pieces have to snap with each other.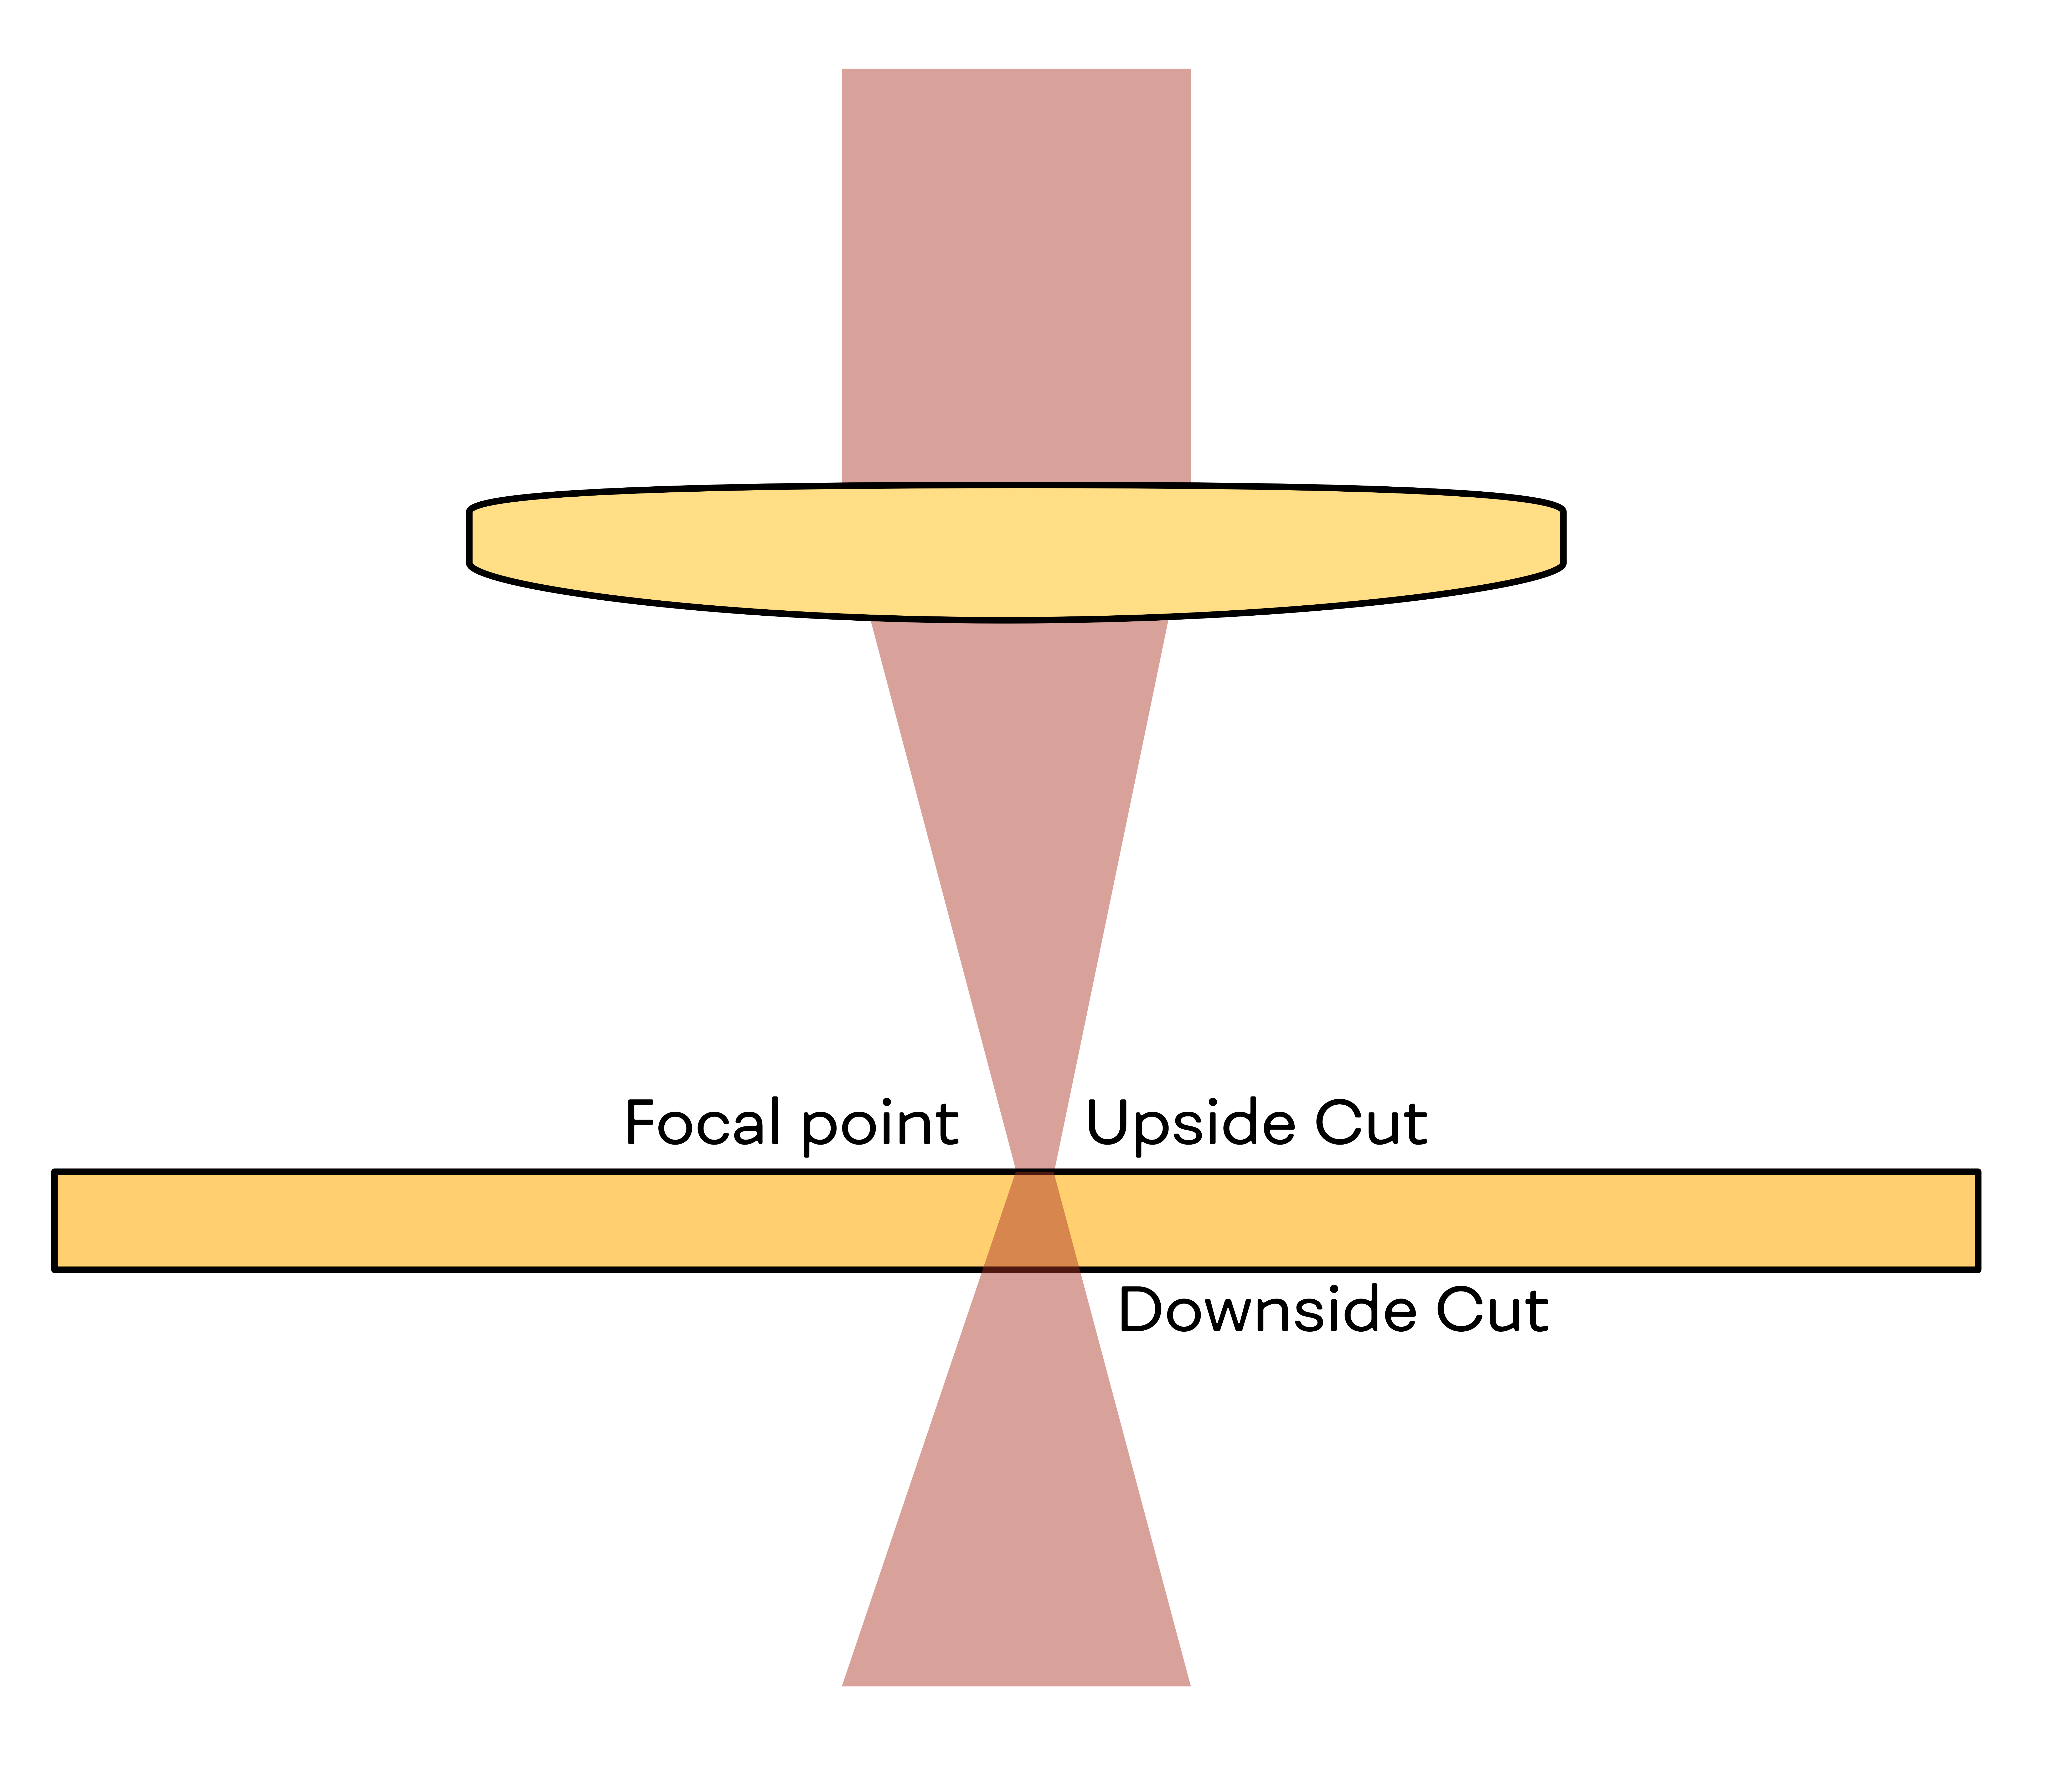
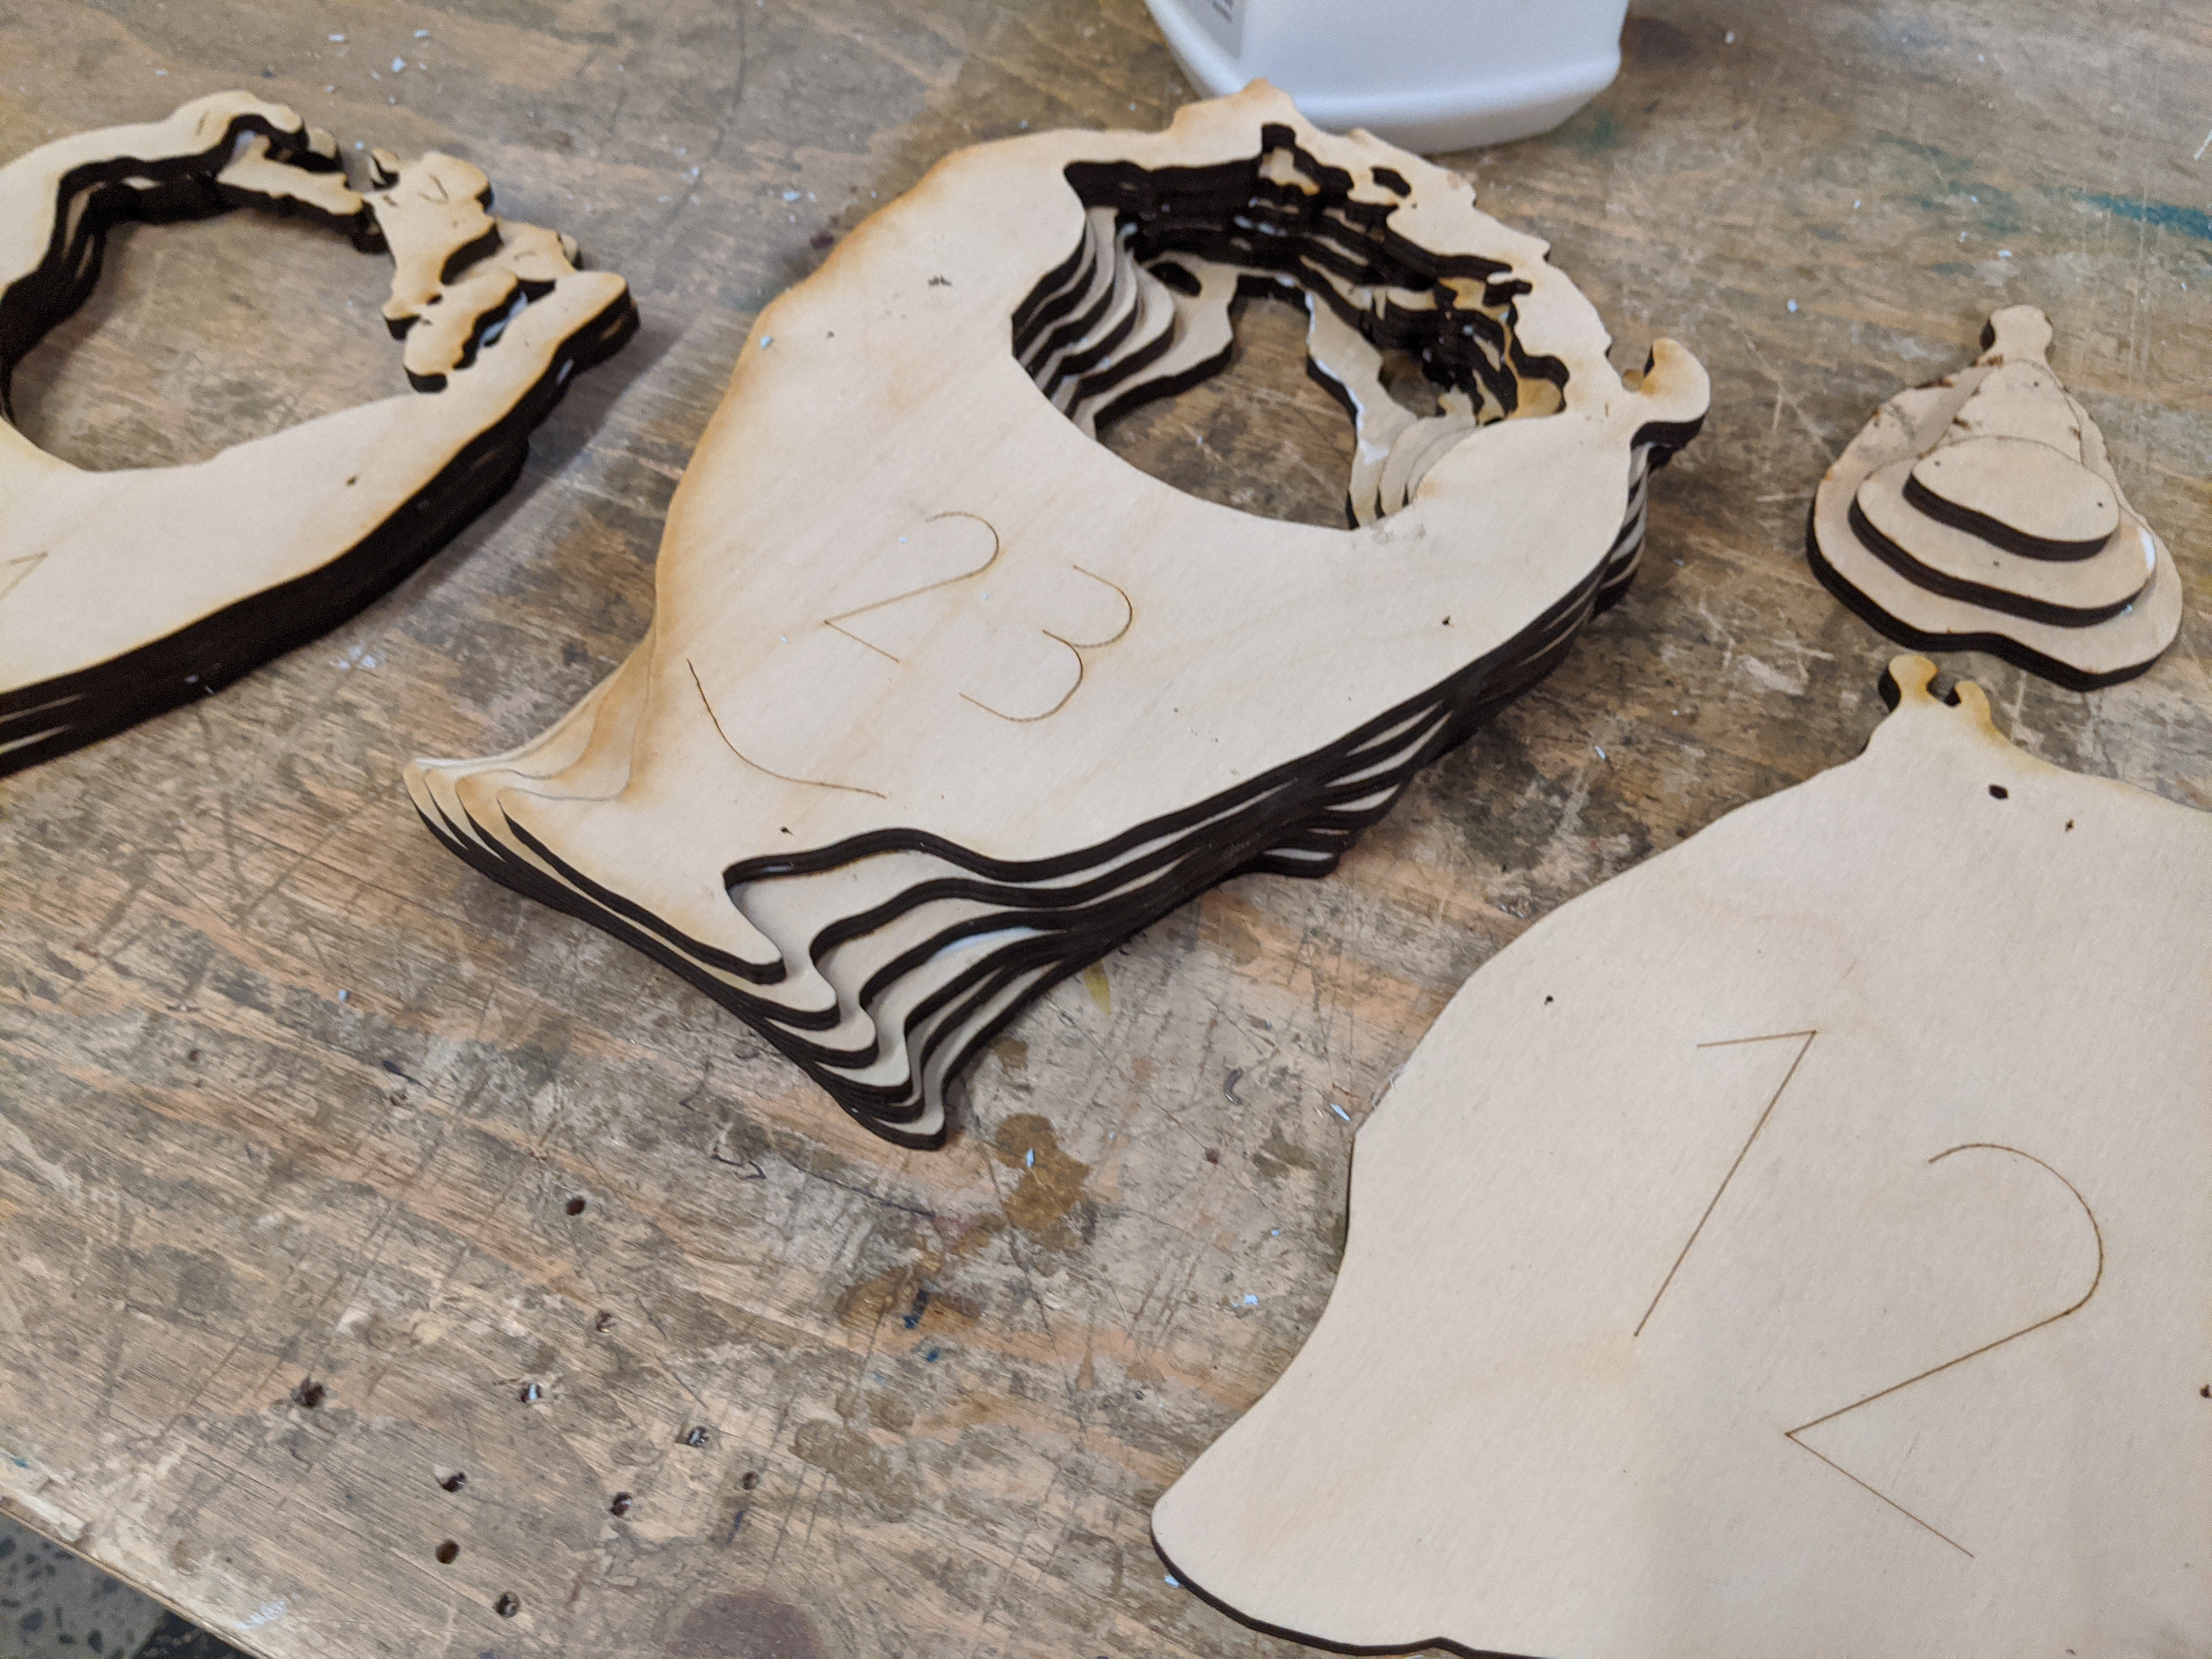
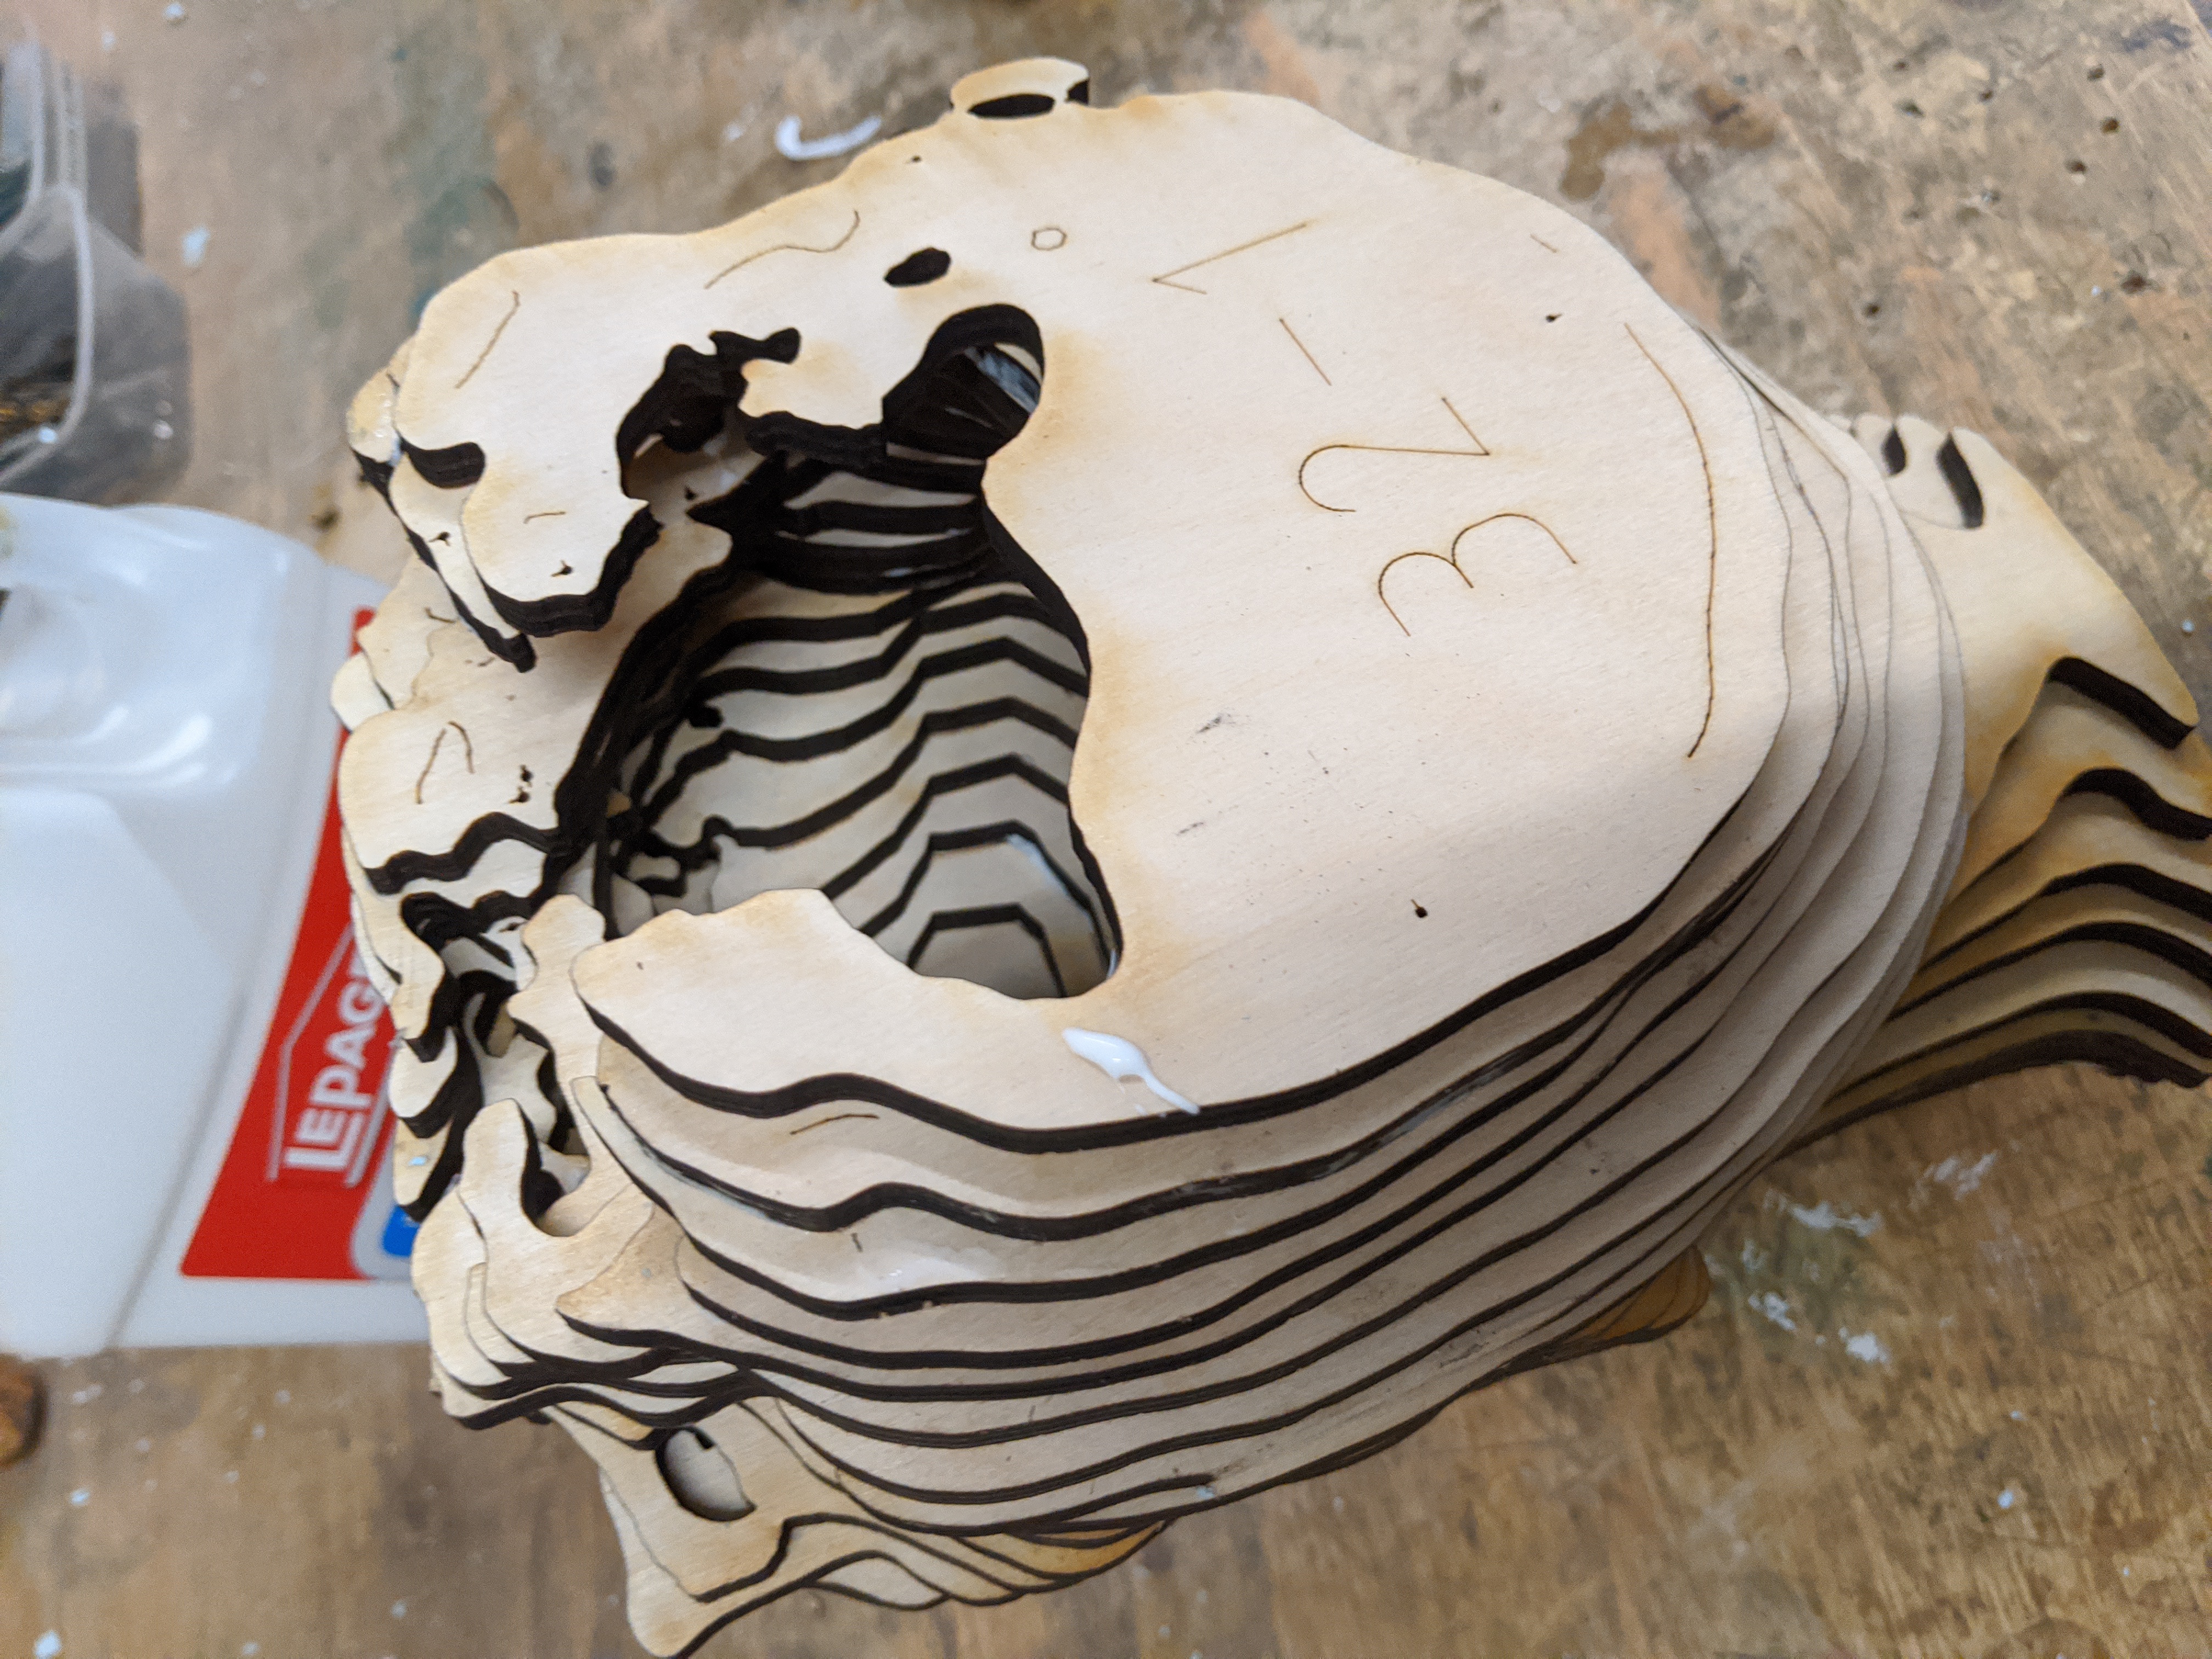
Ok! now that we've got all of this out of the way, let's put it into pratice. I set up my plywood sheet and my parameters, launch the laser and watch it do it's thing, after 5 years operating this machine, I still find it very mesmerizing to watch. Once the cut is done, all I need is to assemble the parts together using wood glue and let it dry, I still doubt that using 1/4" plywood will be enouph to show off the details of my model, but I think that it will do for what I want it to be: abstract.
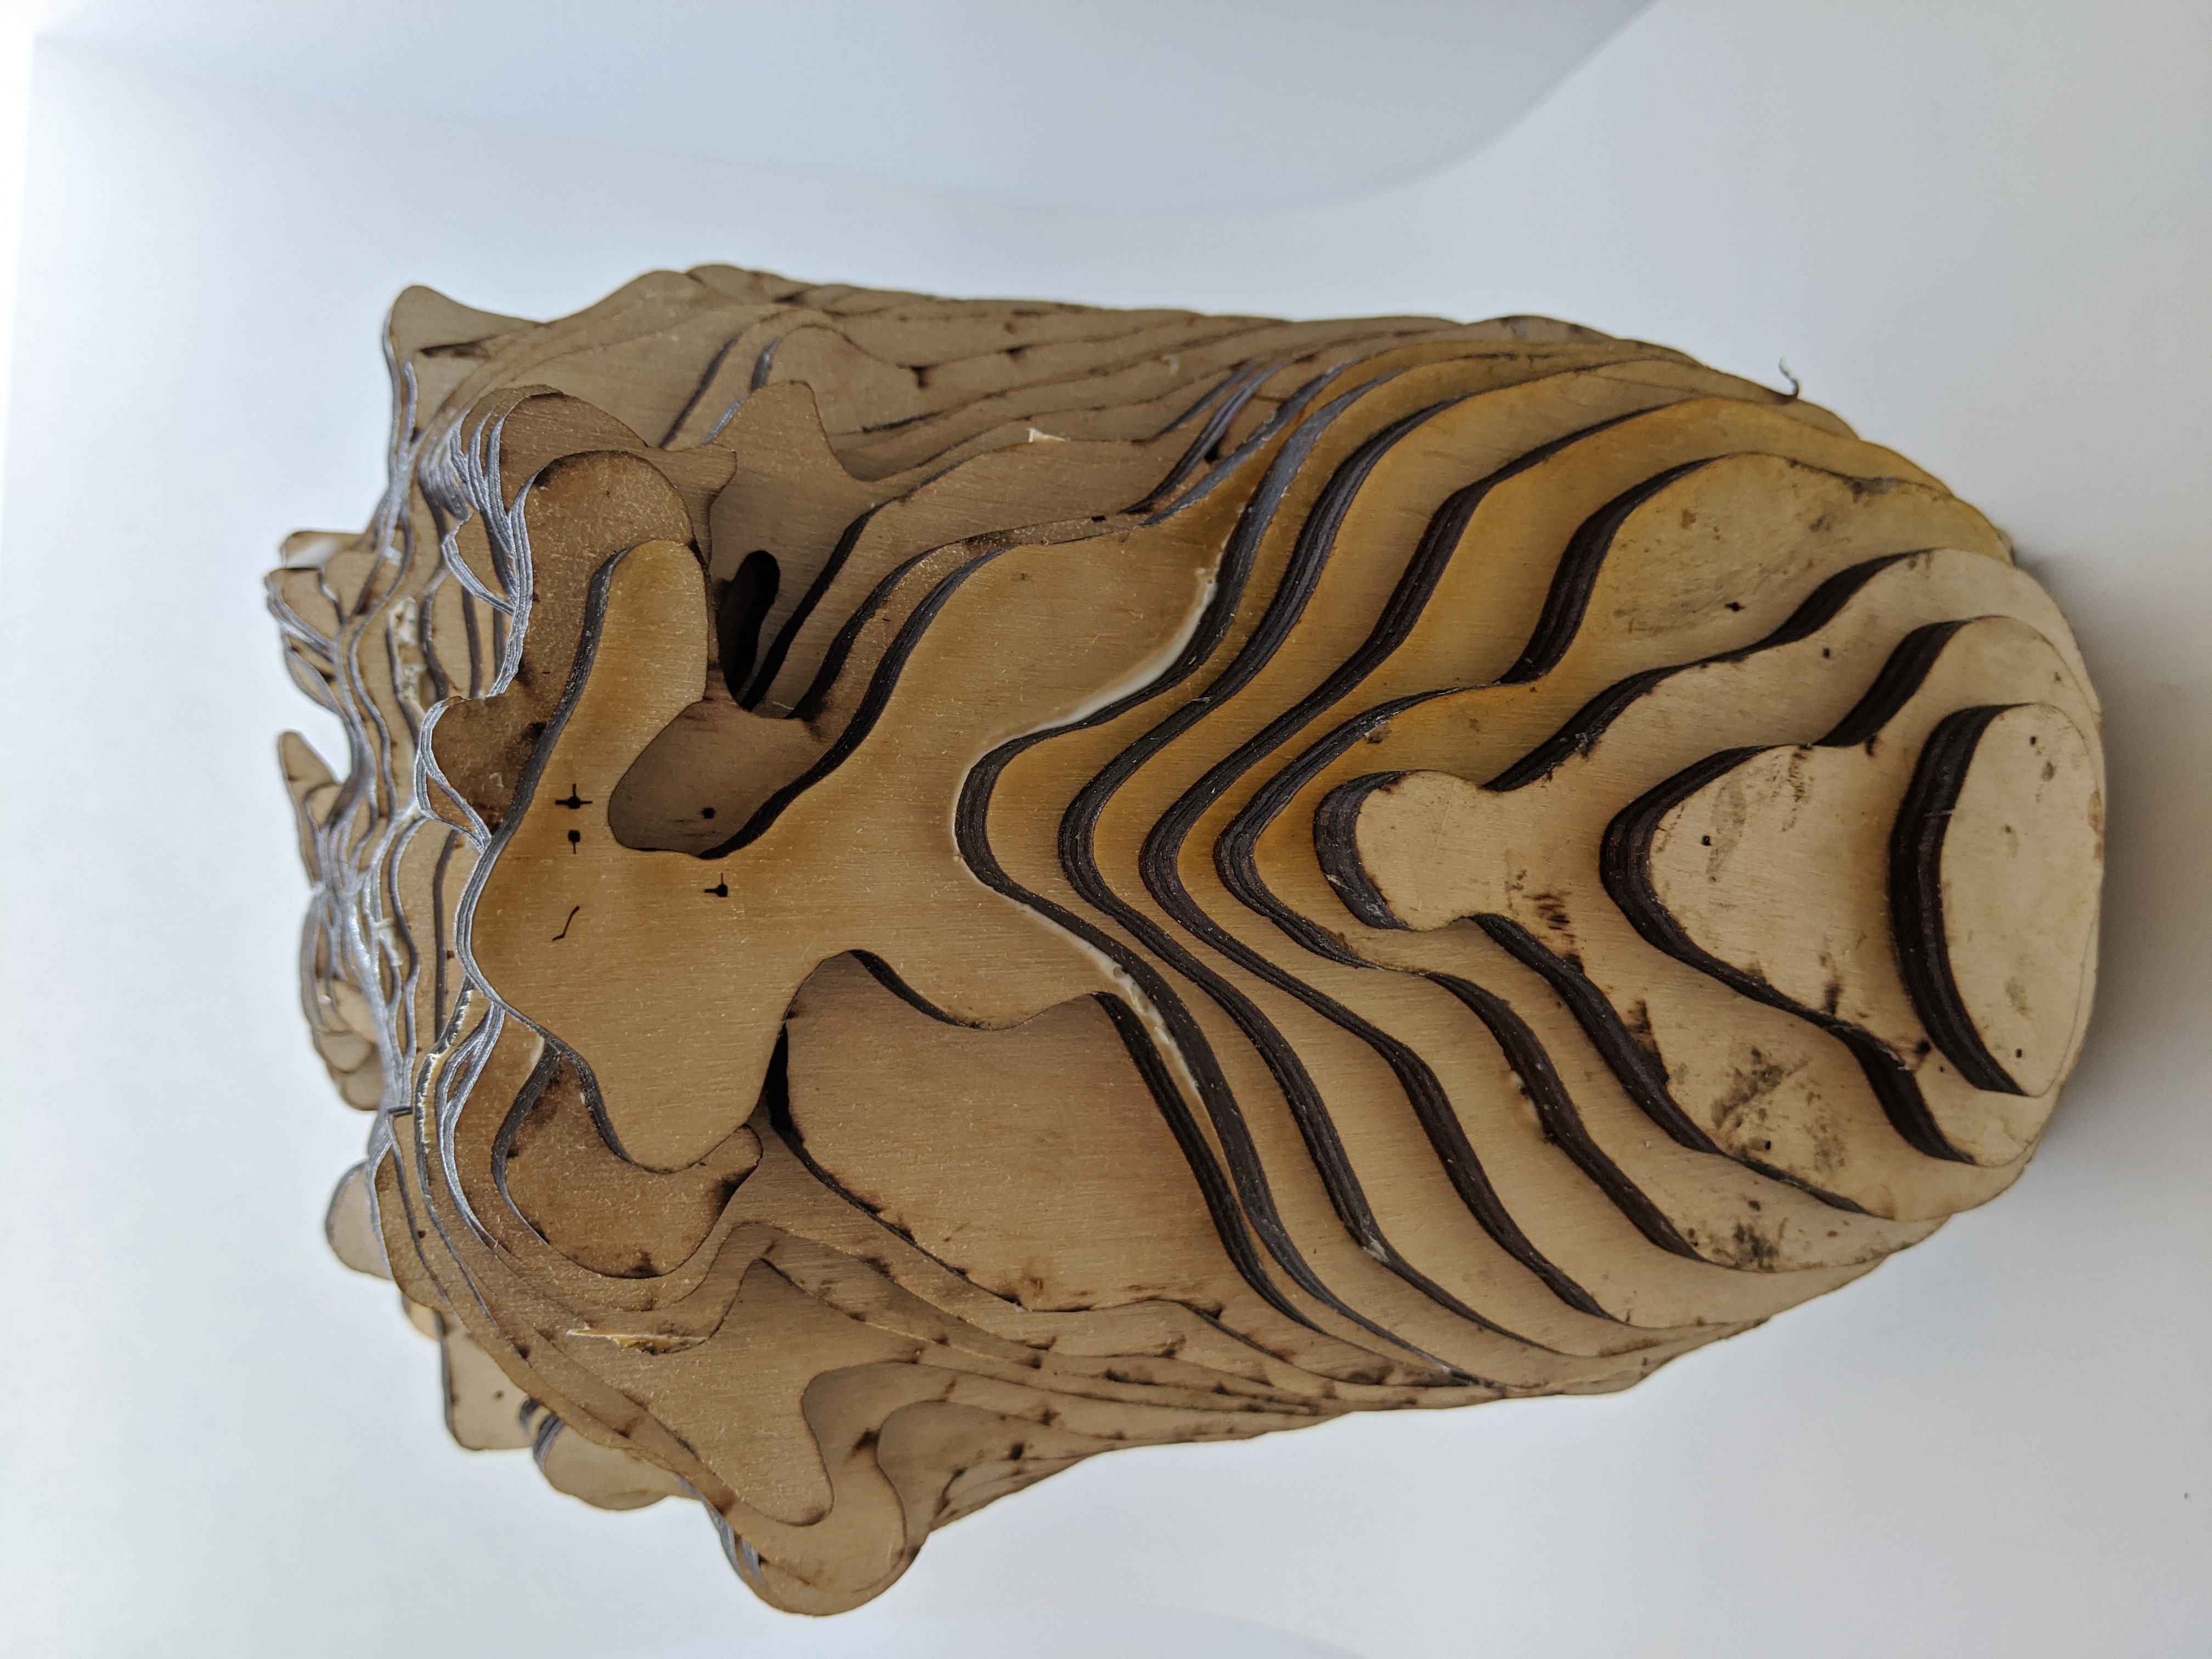
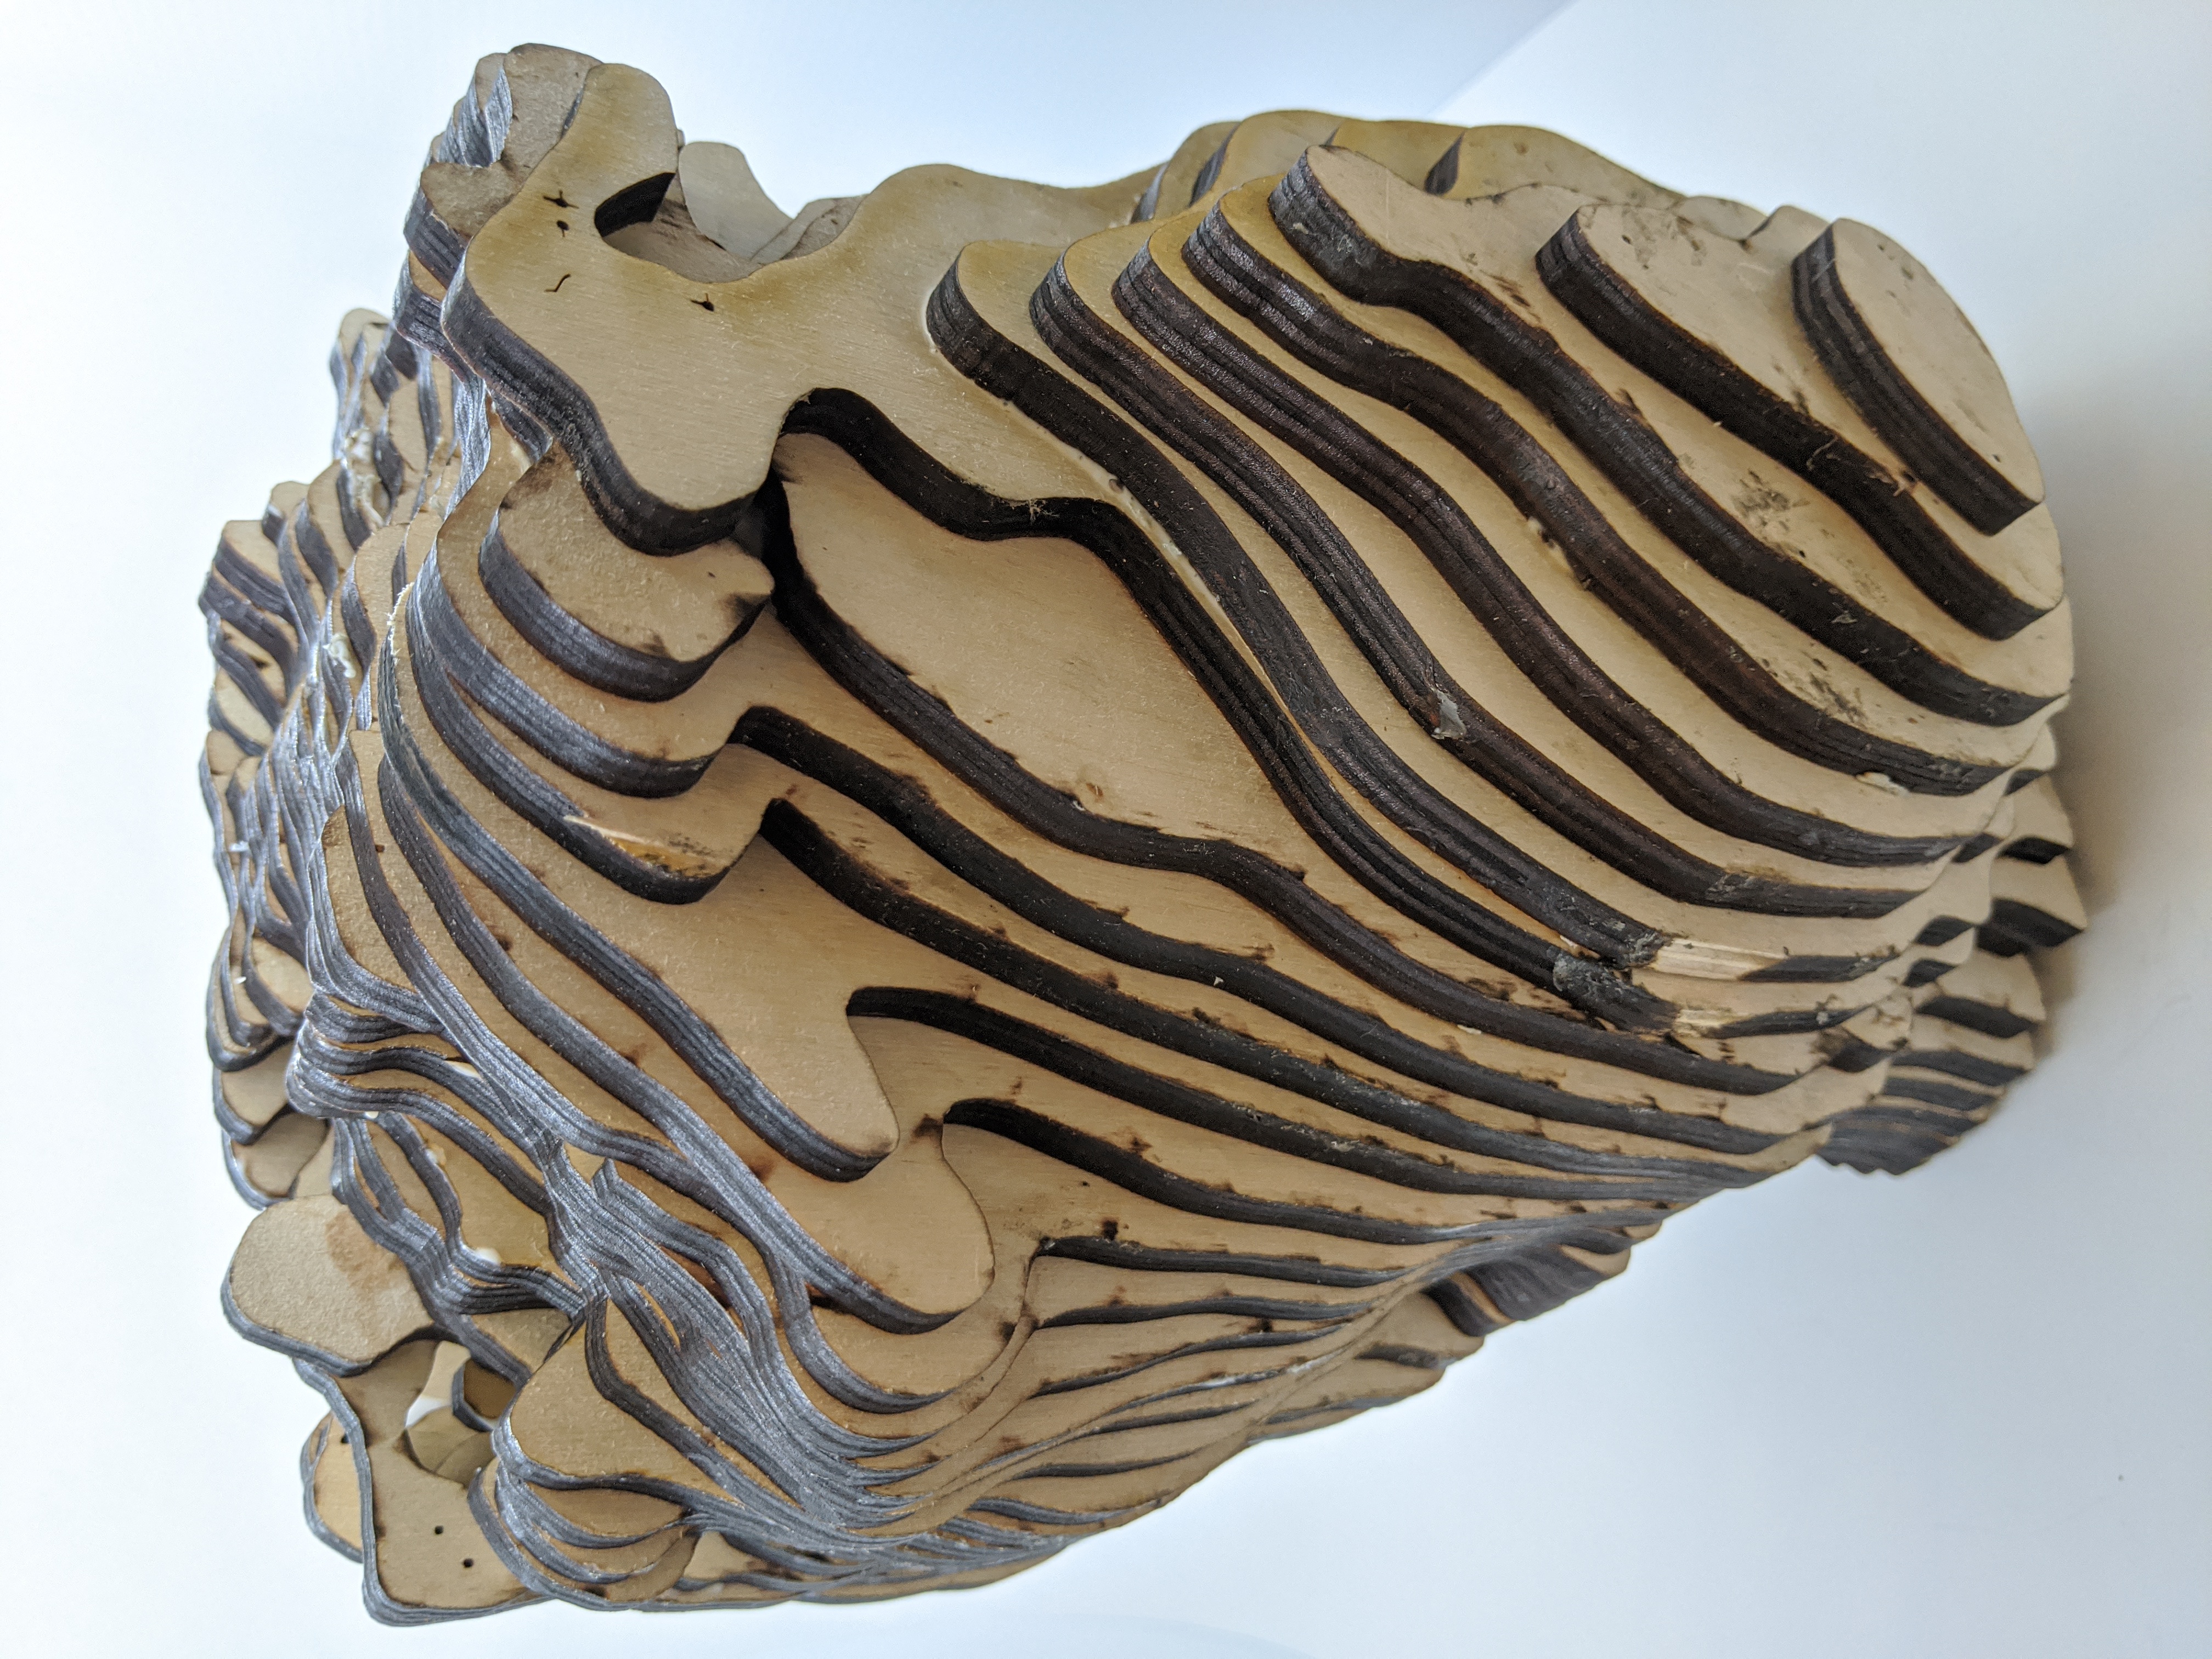
Far from perfect, but still pretty nice! I did rush a bit the assembly witch I Think shows in the final presentation, but still I think it looks cool. The only person who recognize me was my girlfriend, wich I find interesting. I see a lot of emotion in this model, I love the angle of slice that I choose, It express what I wanted, wich is a state of confusion, some Native Americains culture used to think that photography takes a part of your soul, I can only imagine 3D scanning would be seen as something similar or even worse. Fabricating ourself is an funny way of expression, nobody recognize me in this model, but I do, and in some ways, it absolutely amaze me.
Here are the cutting files if you want to reproduce my head for some creepy reason...;)
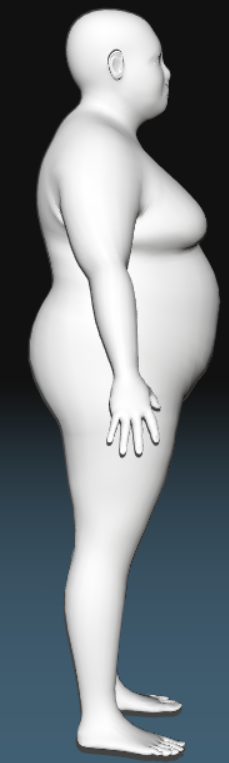
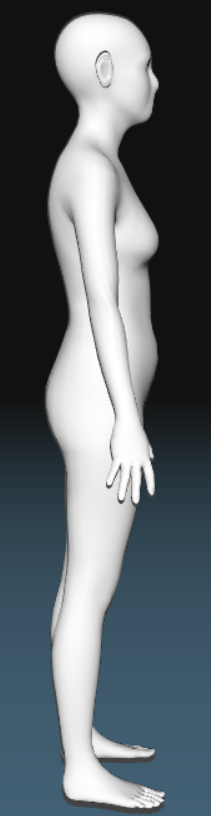
Make Human
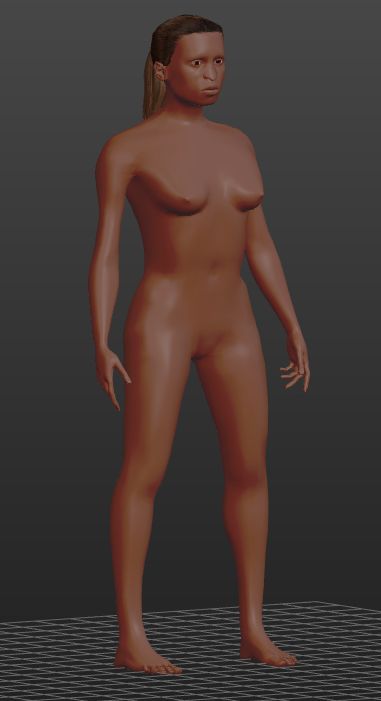
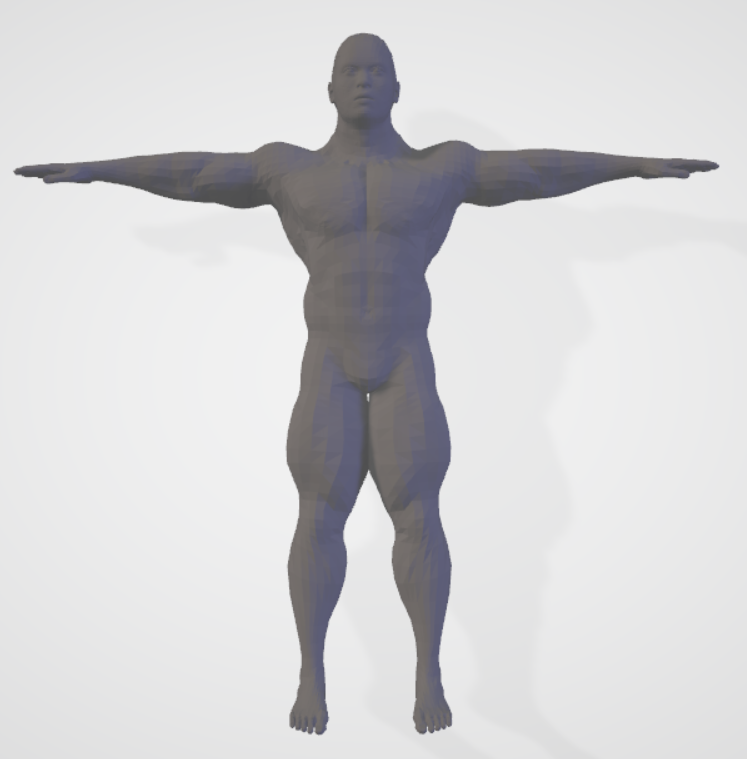
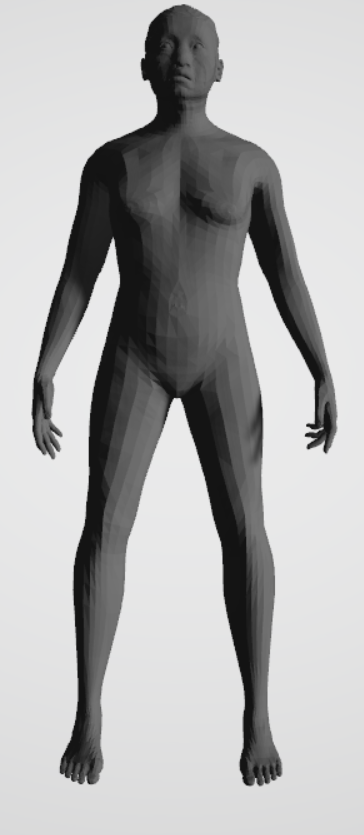
I also stumble onto Humanshape.org wich does pretty much the same thing as Make human but I find the result a bit more realistic and you can go overweight with this one, Make human dosent let us put a lot of weight on our bodies. It also gives you the ability to generate child model.
CNC
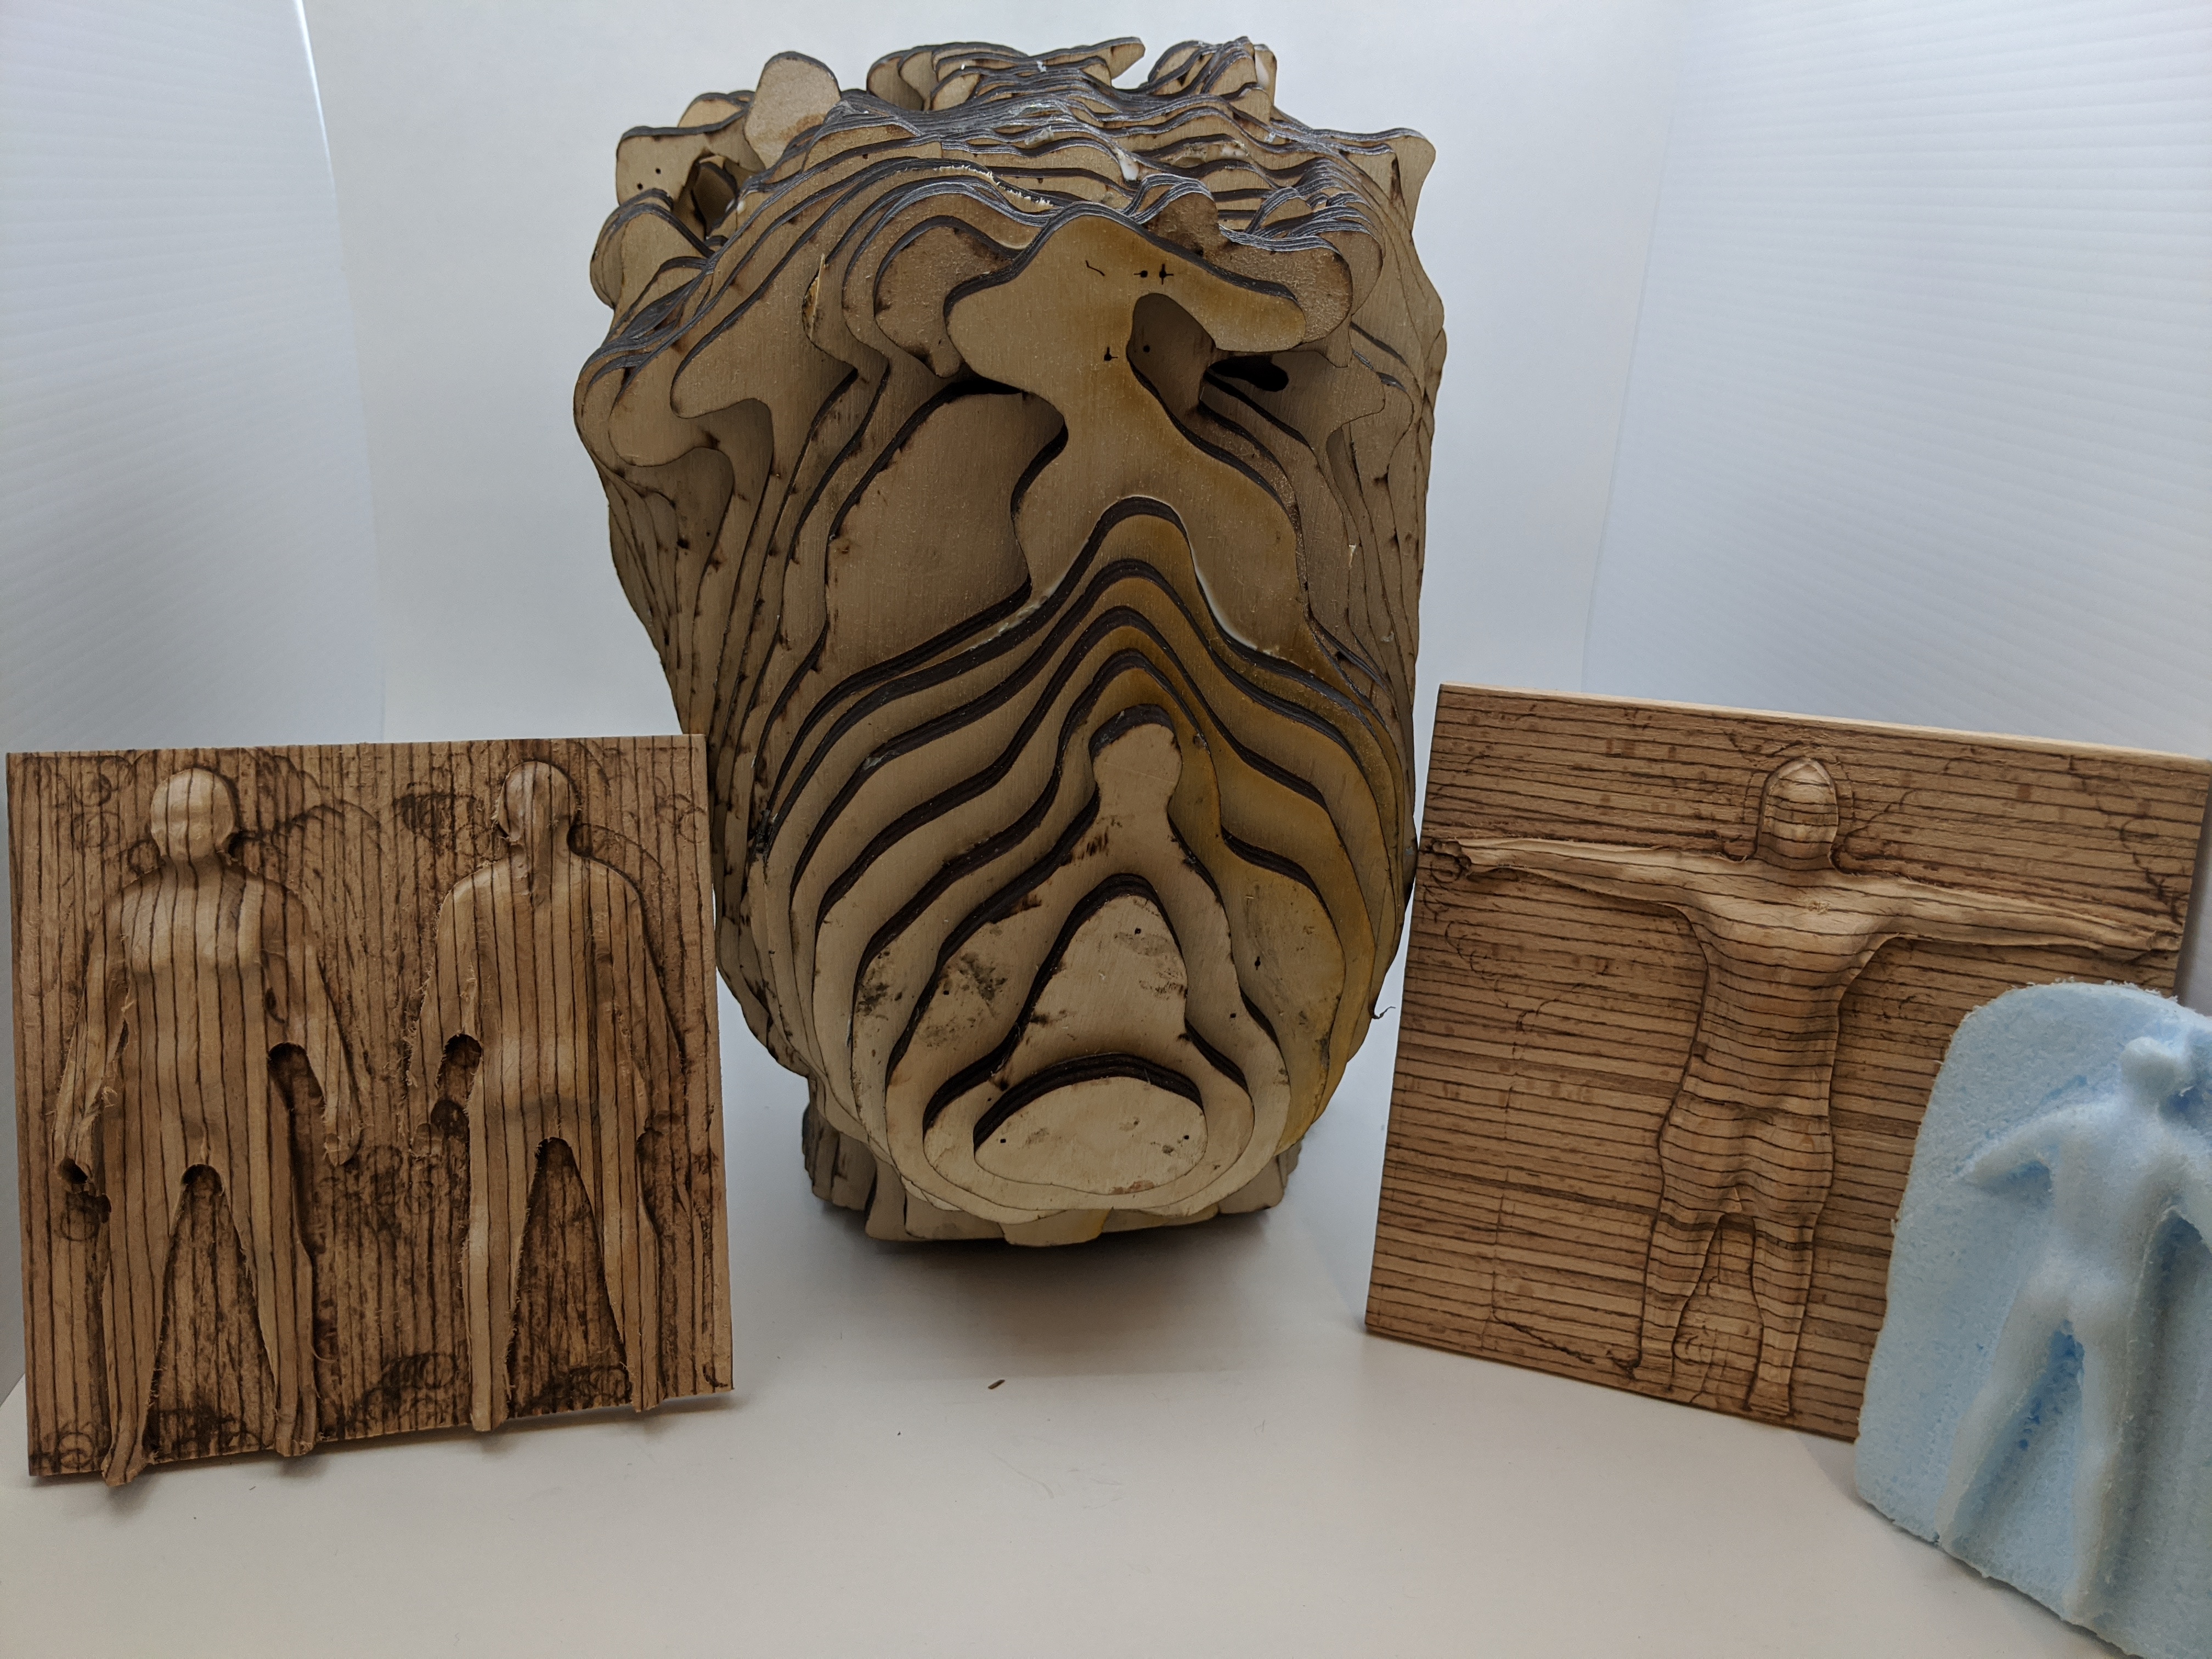
Once I have my toolpath generated, I can go ahead and set up my material on top of my machine, first test I will try is using high density foam. For this one, I just use double sided tape to fix my material onto my sacrificial bed and start the job. Here are the results.
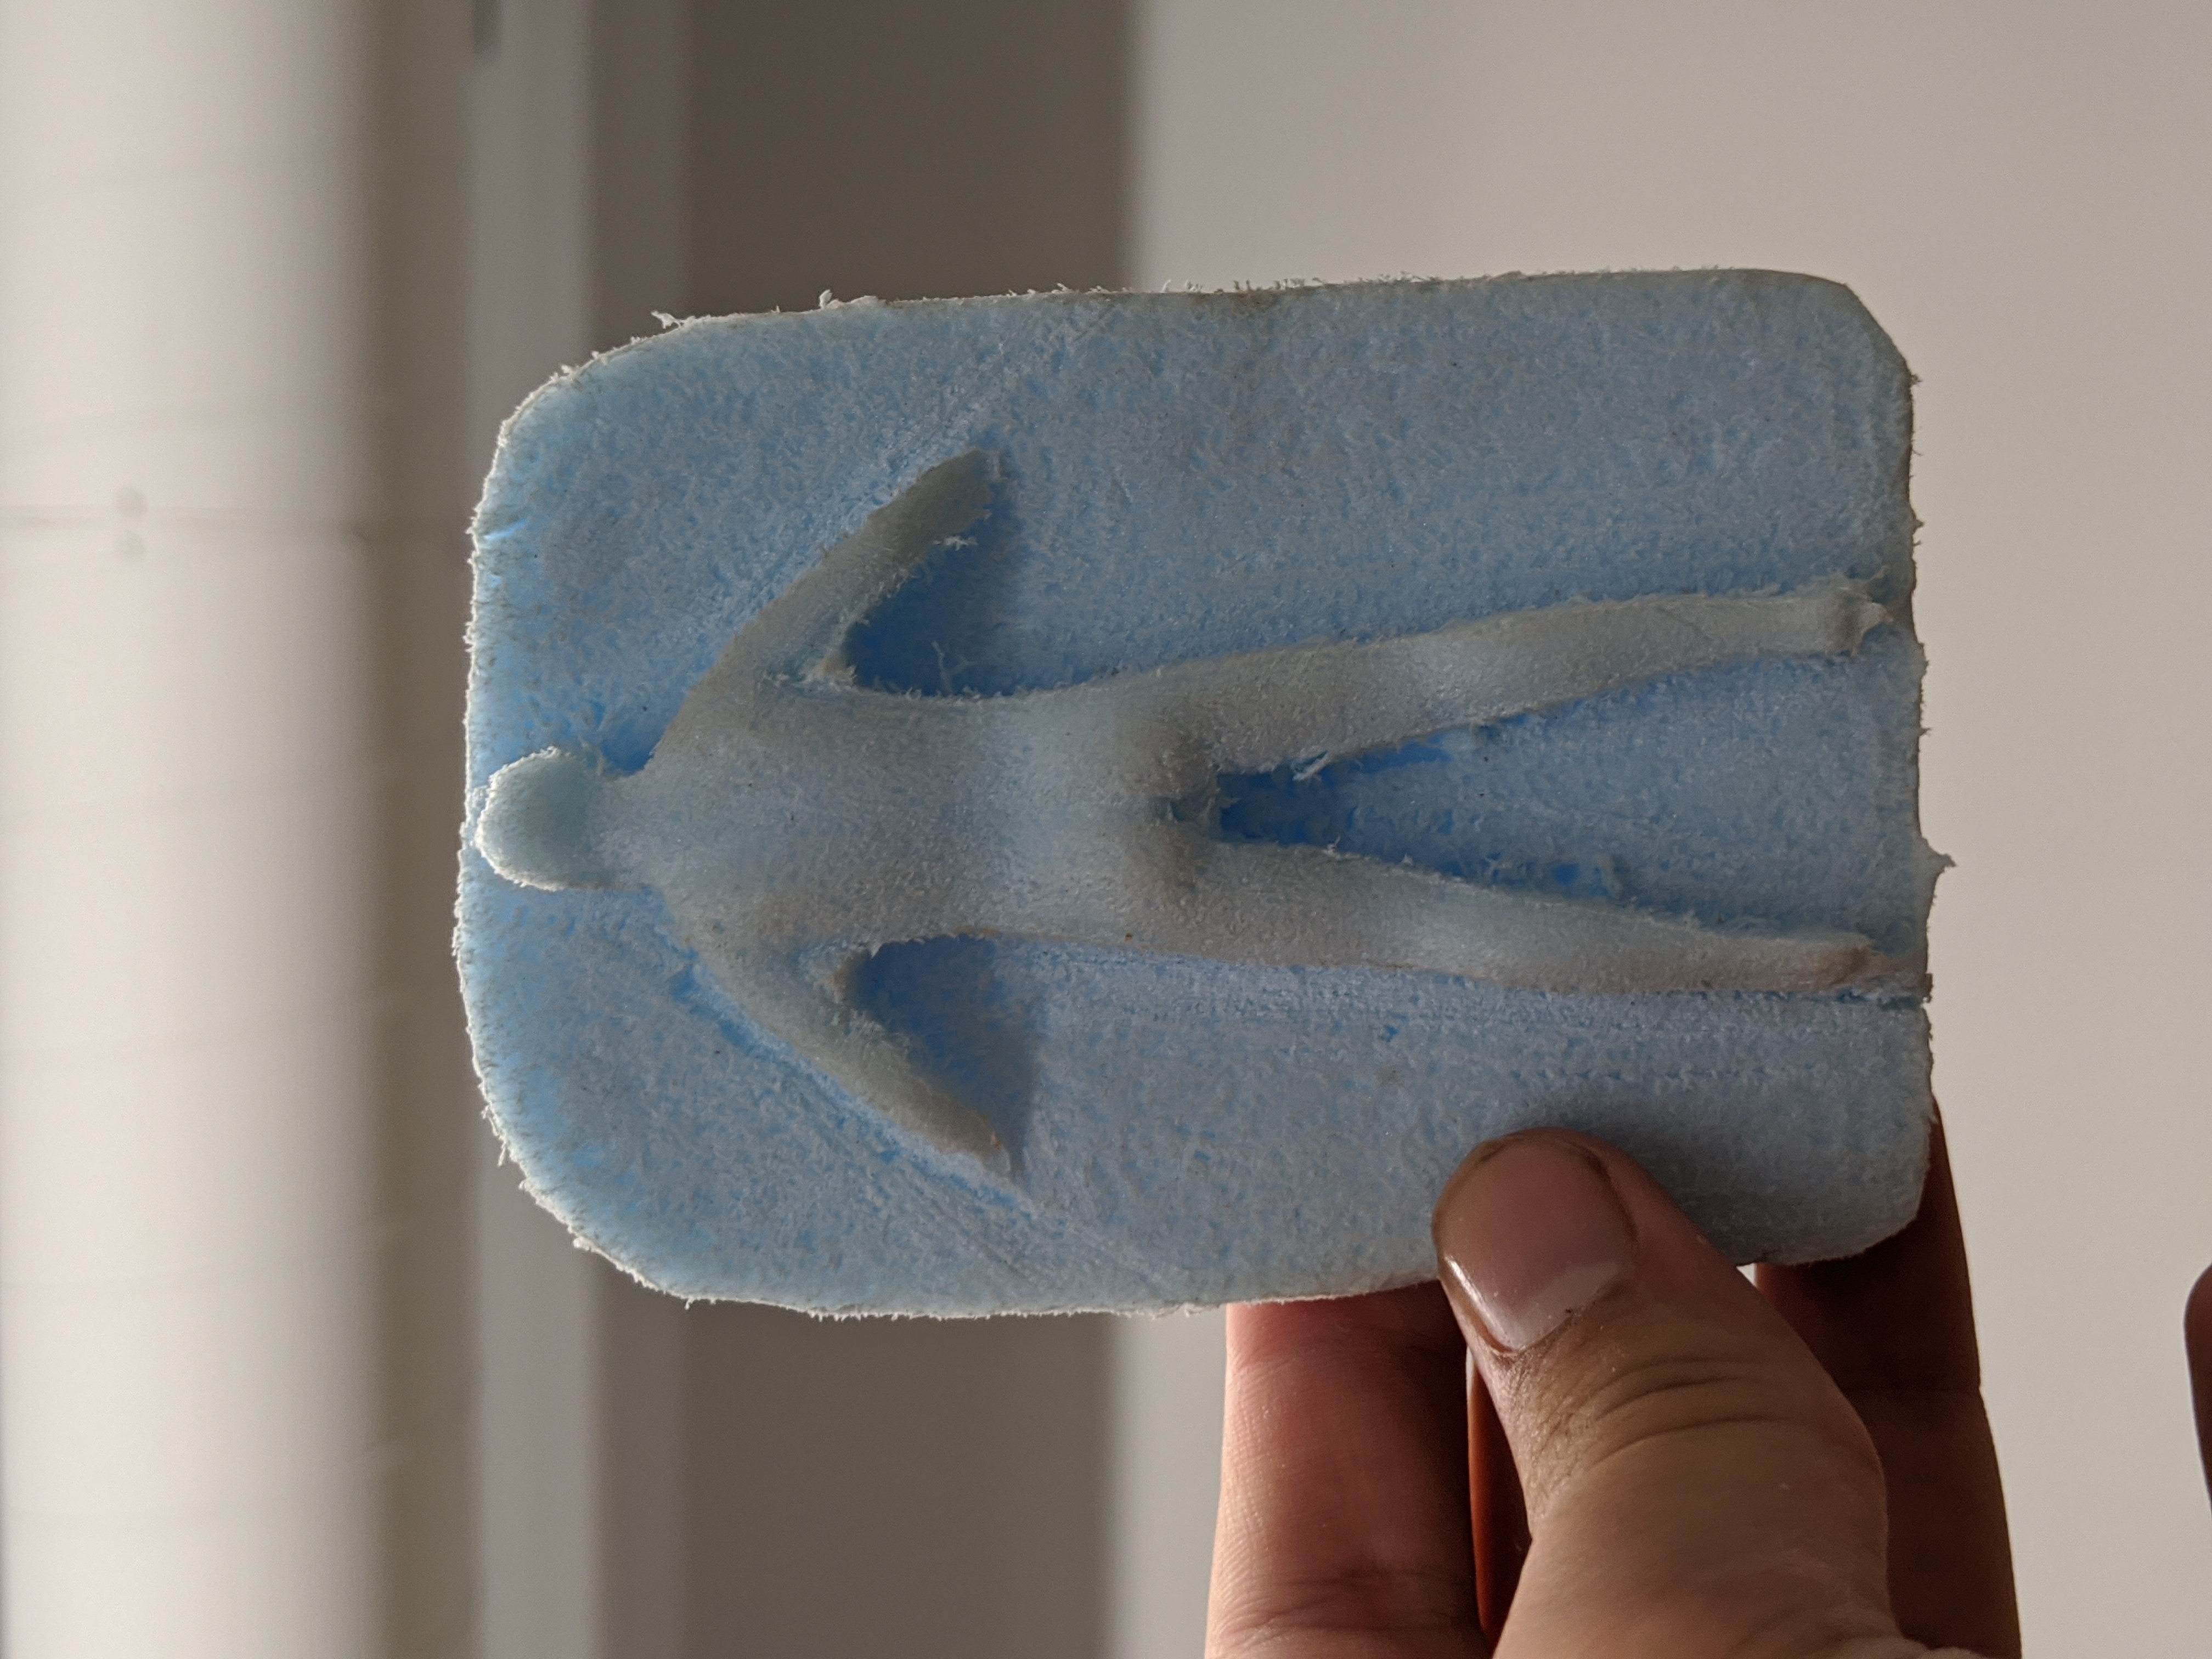
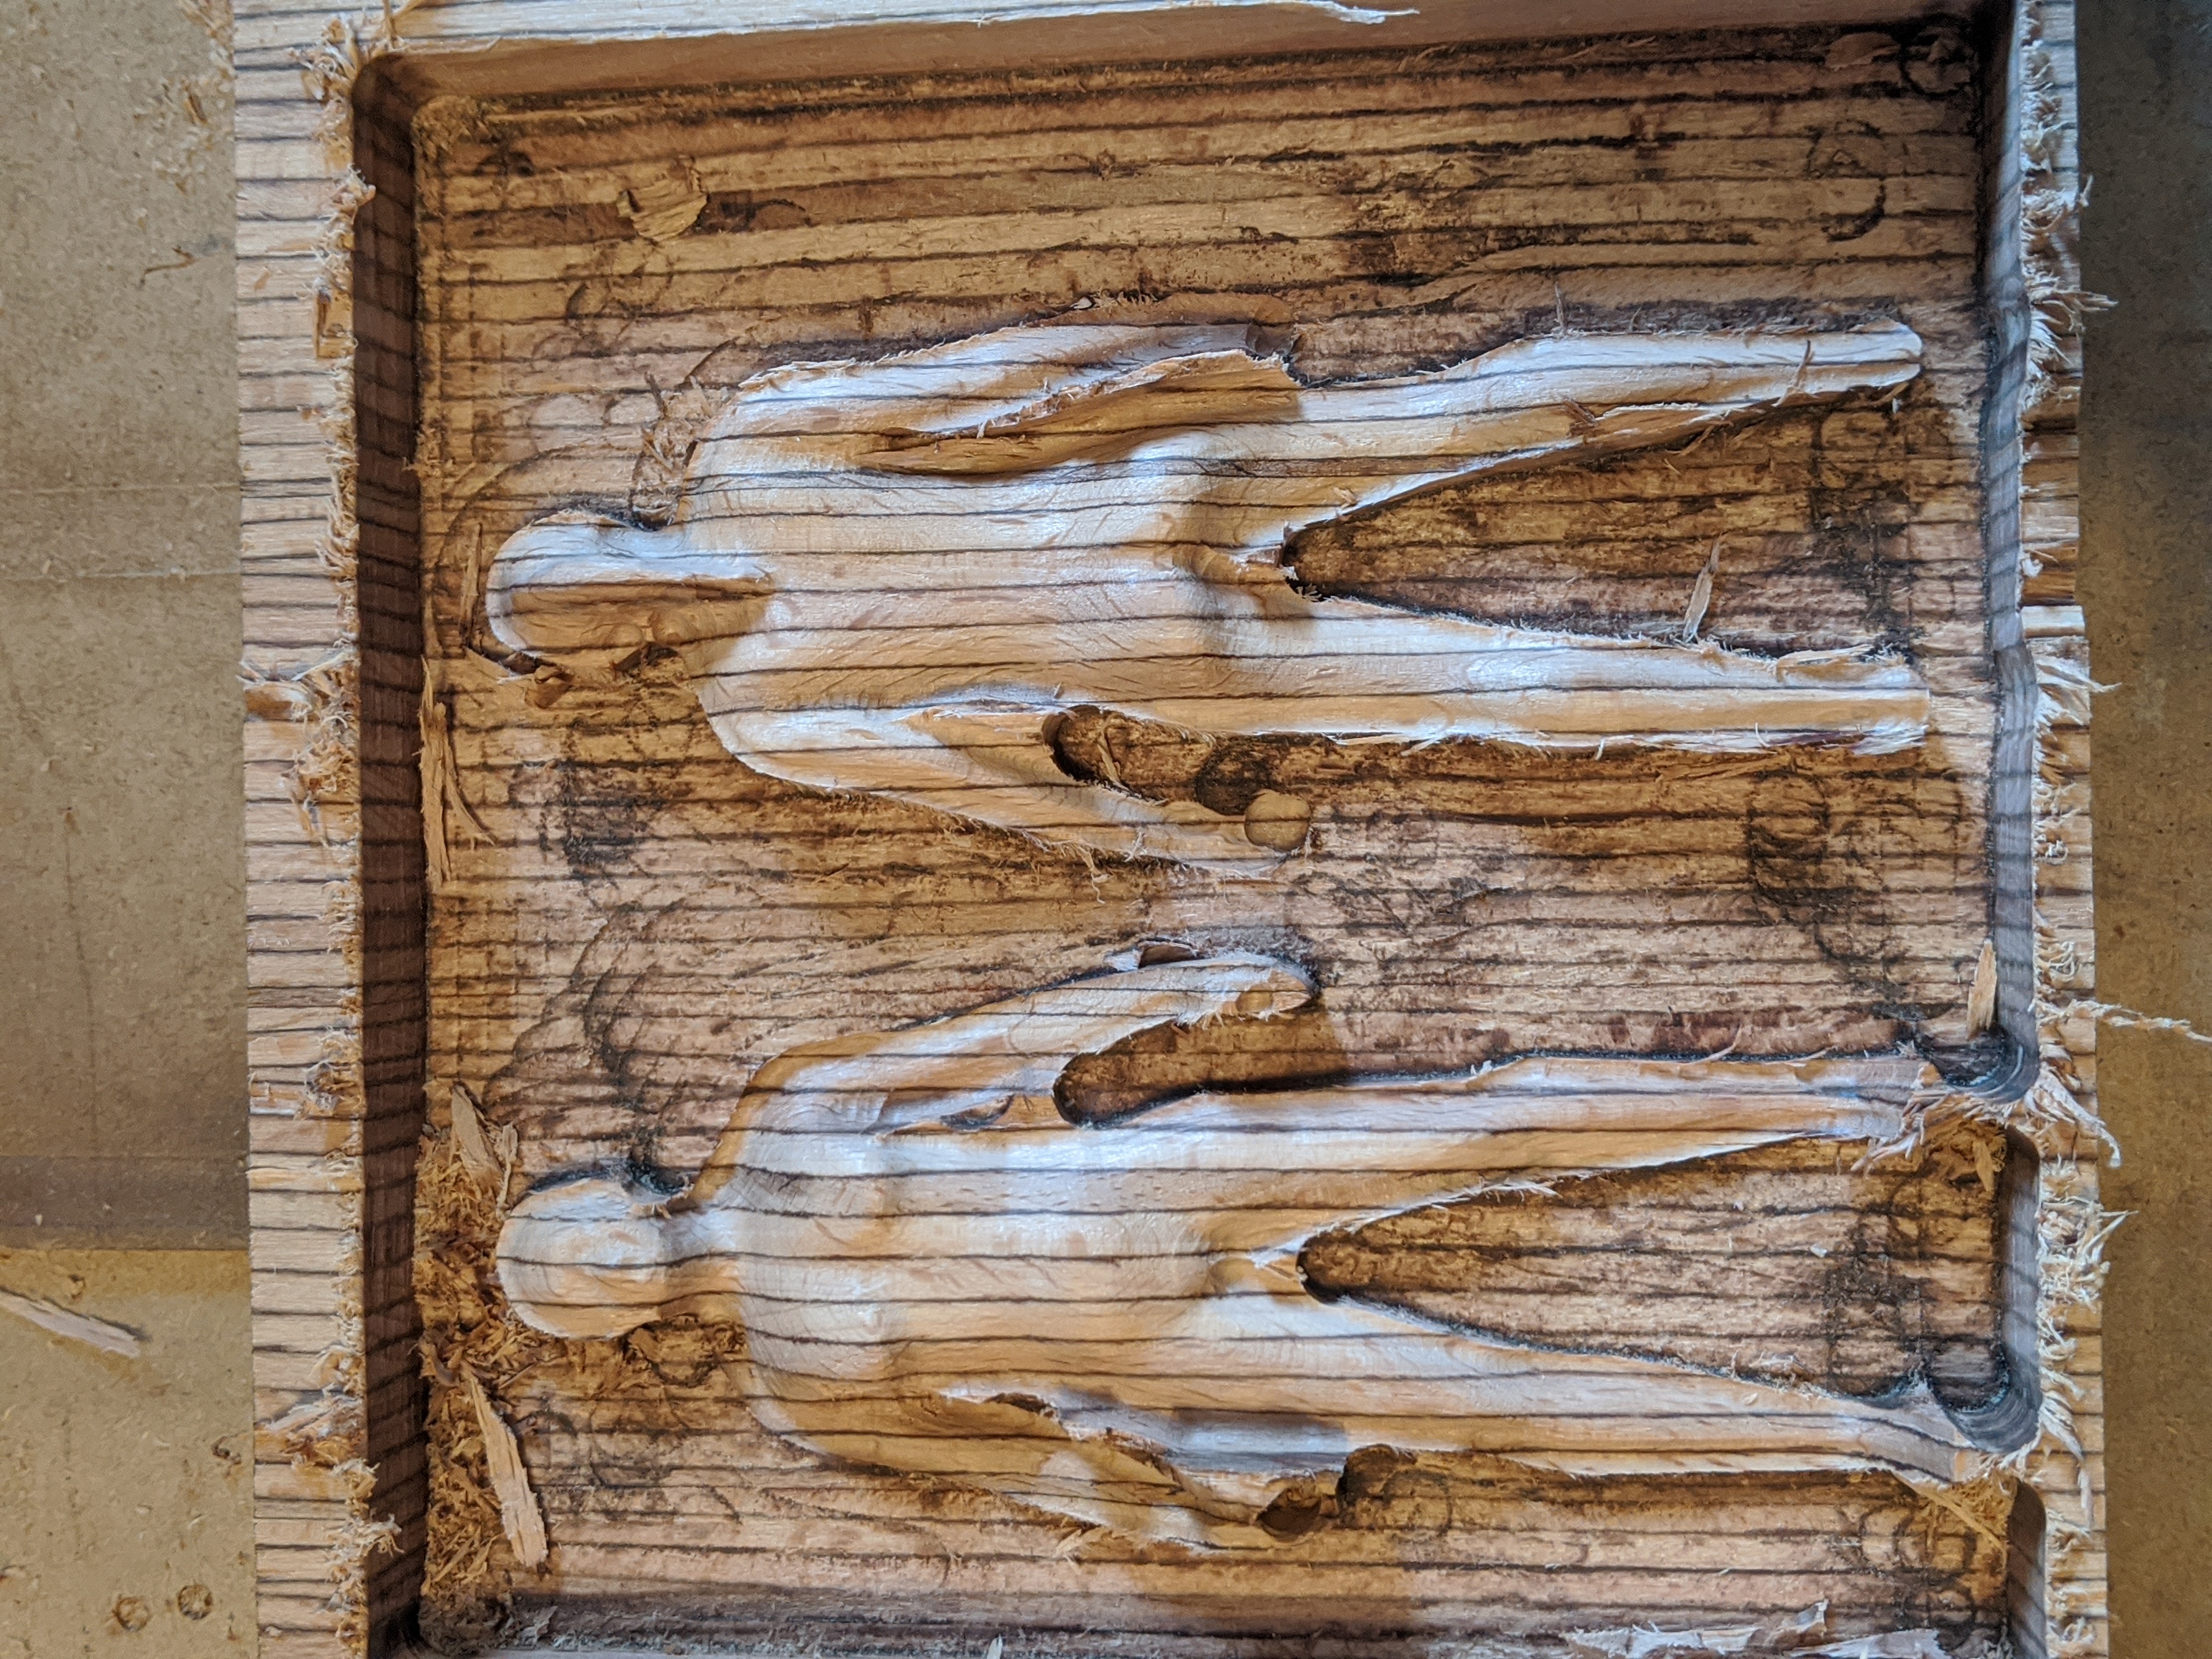
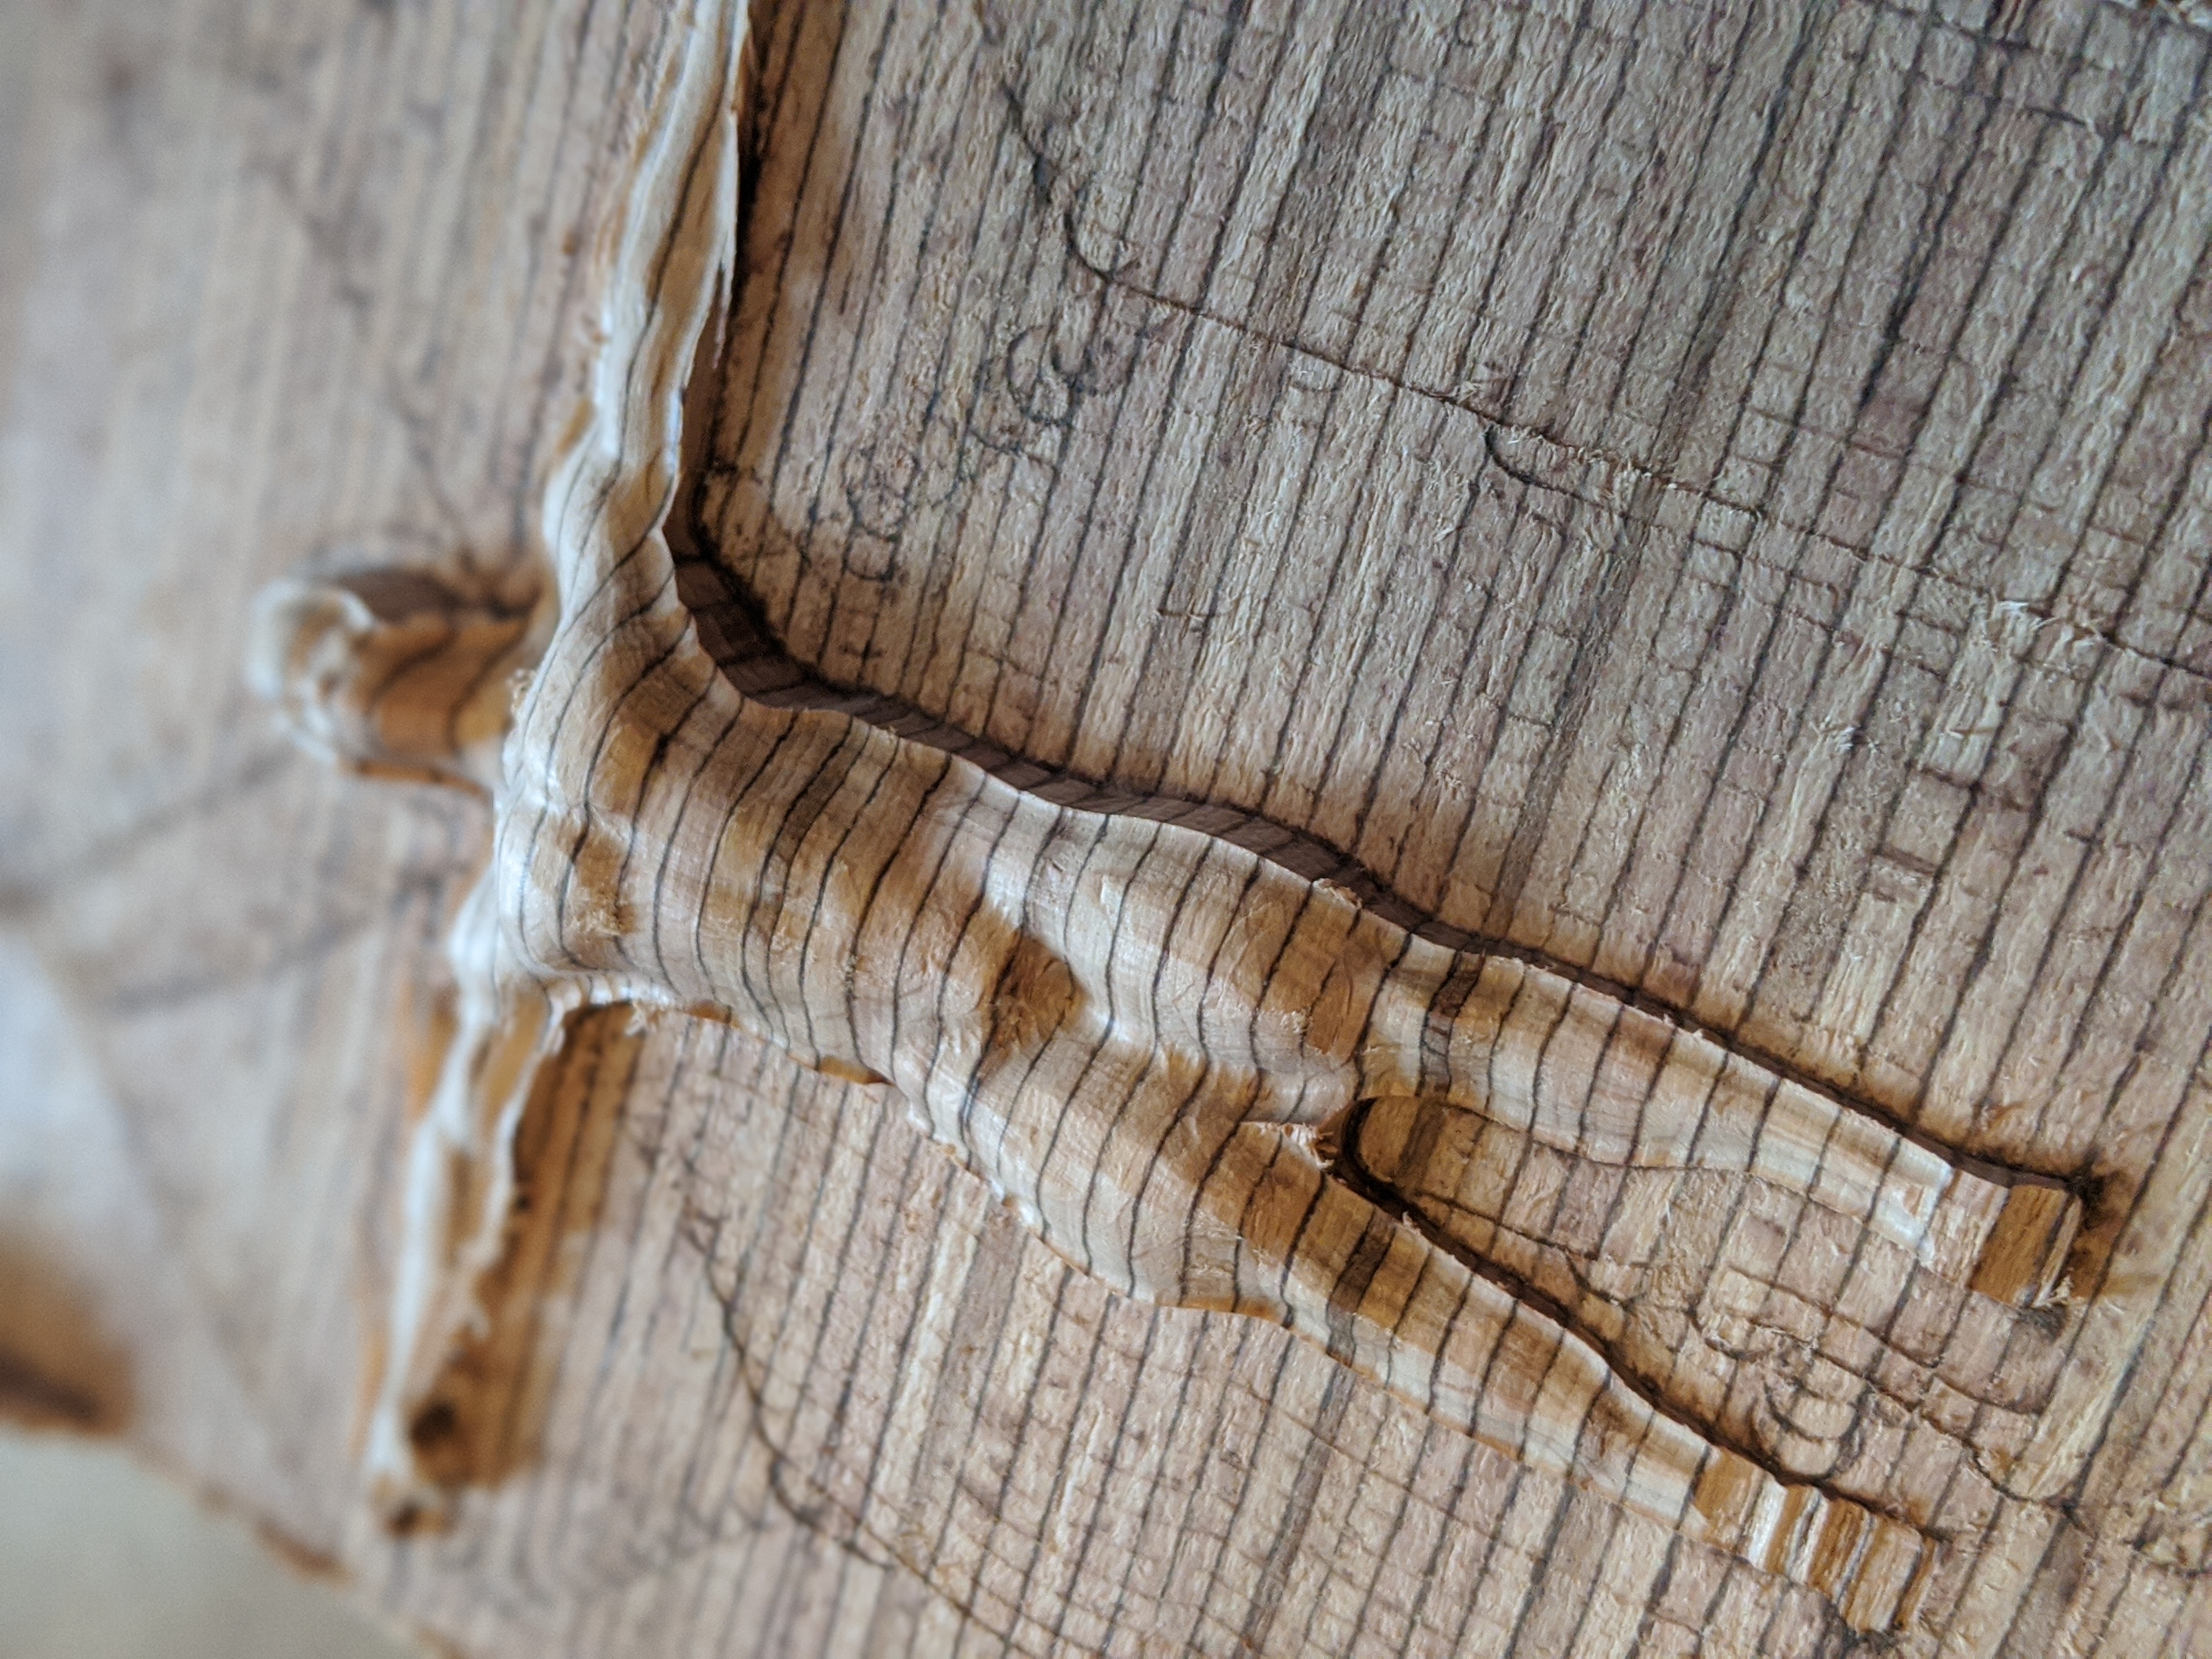
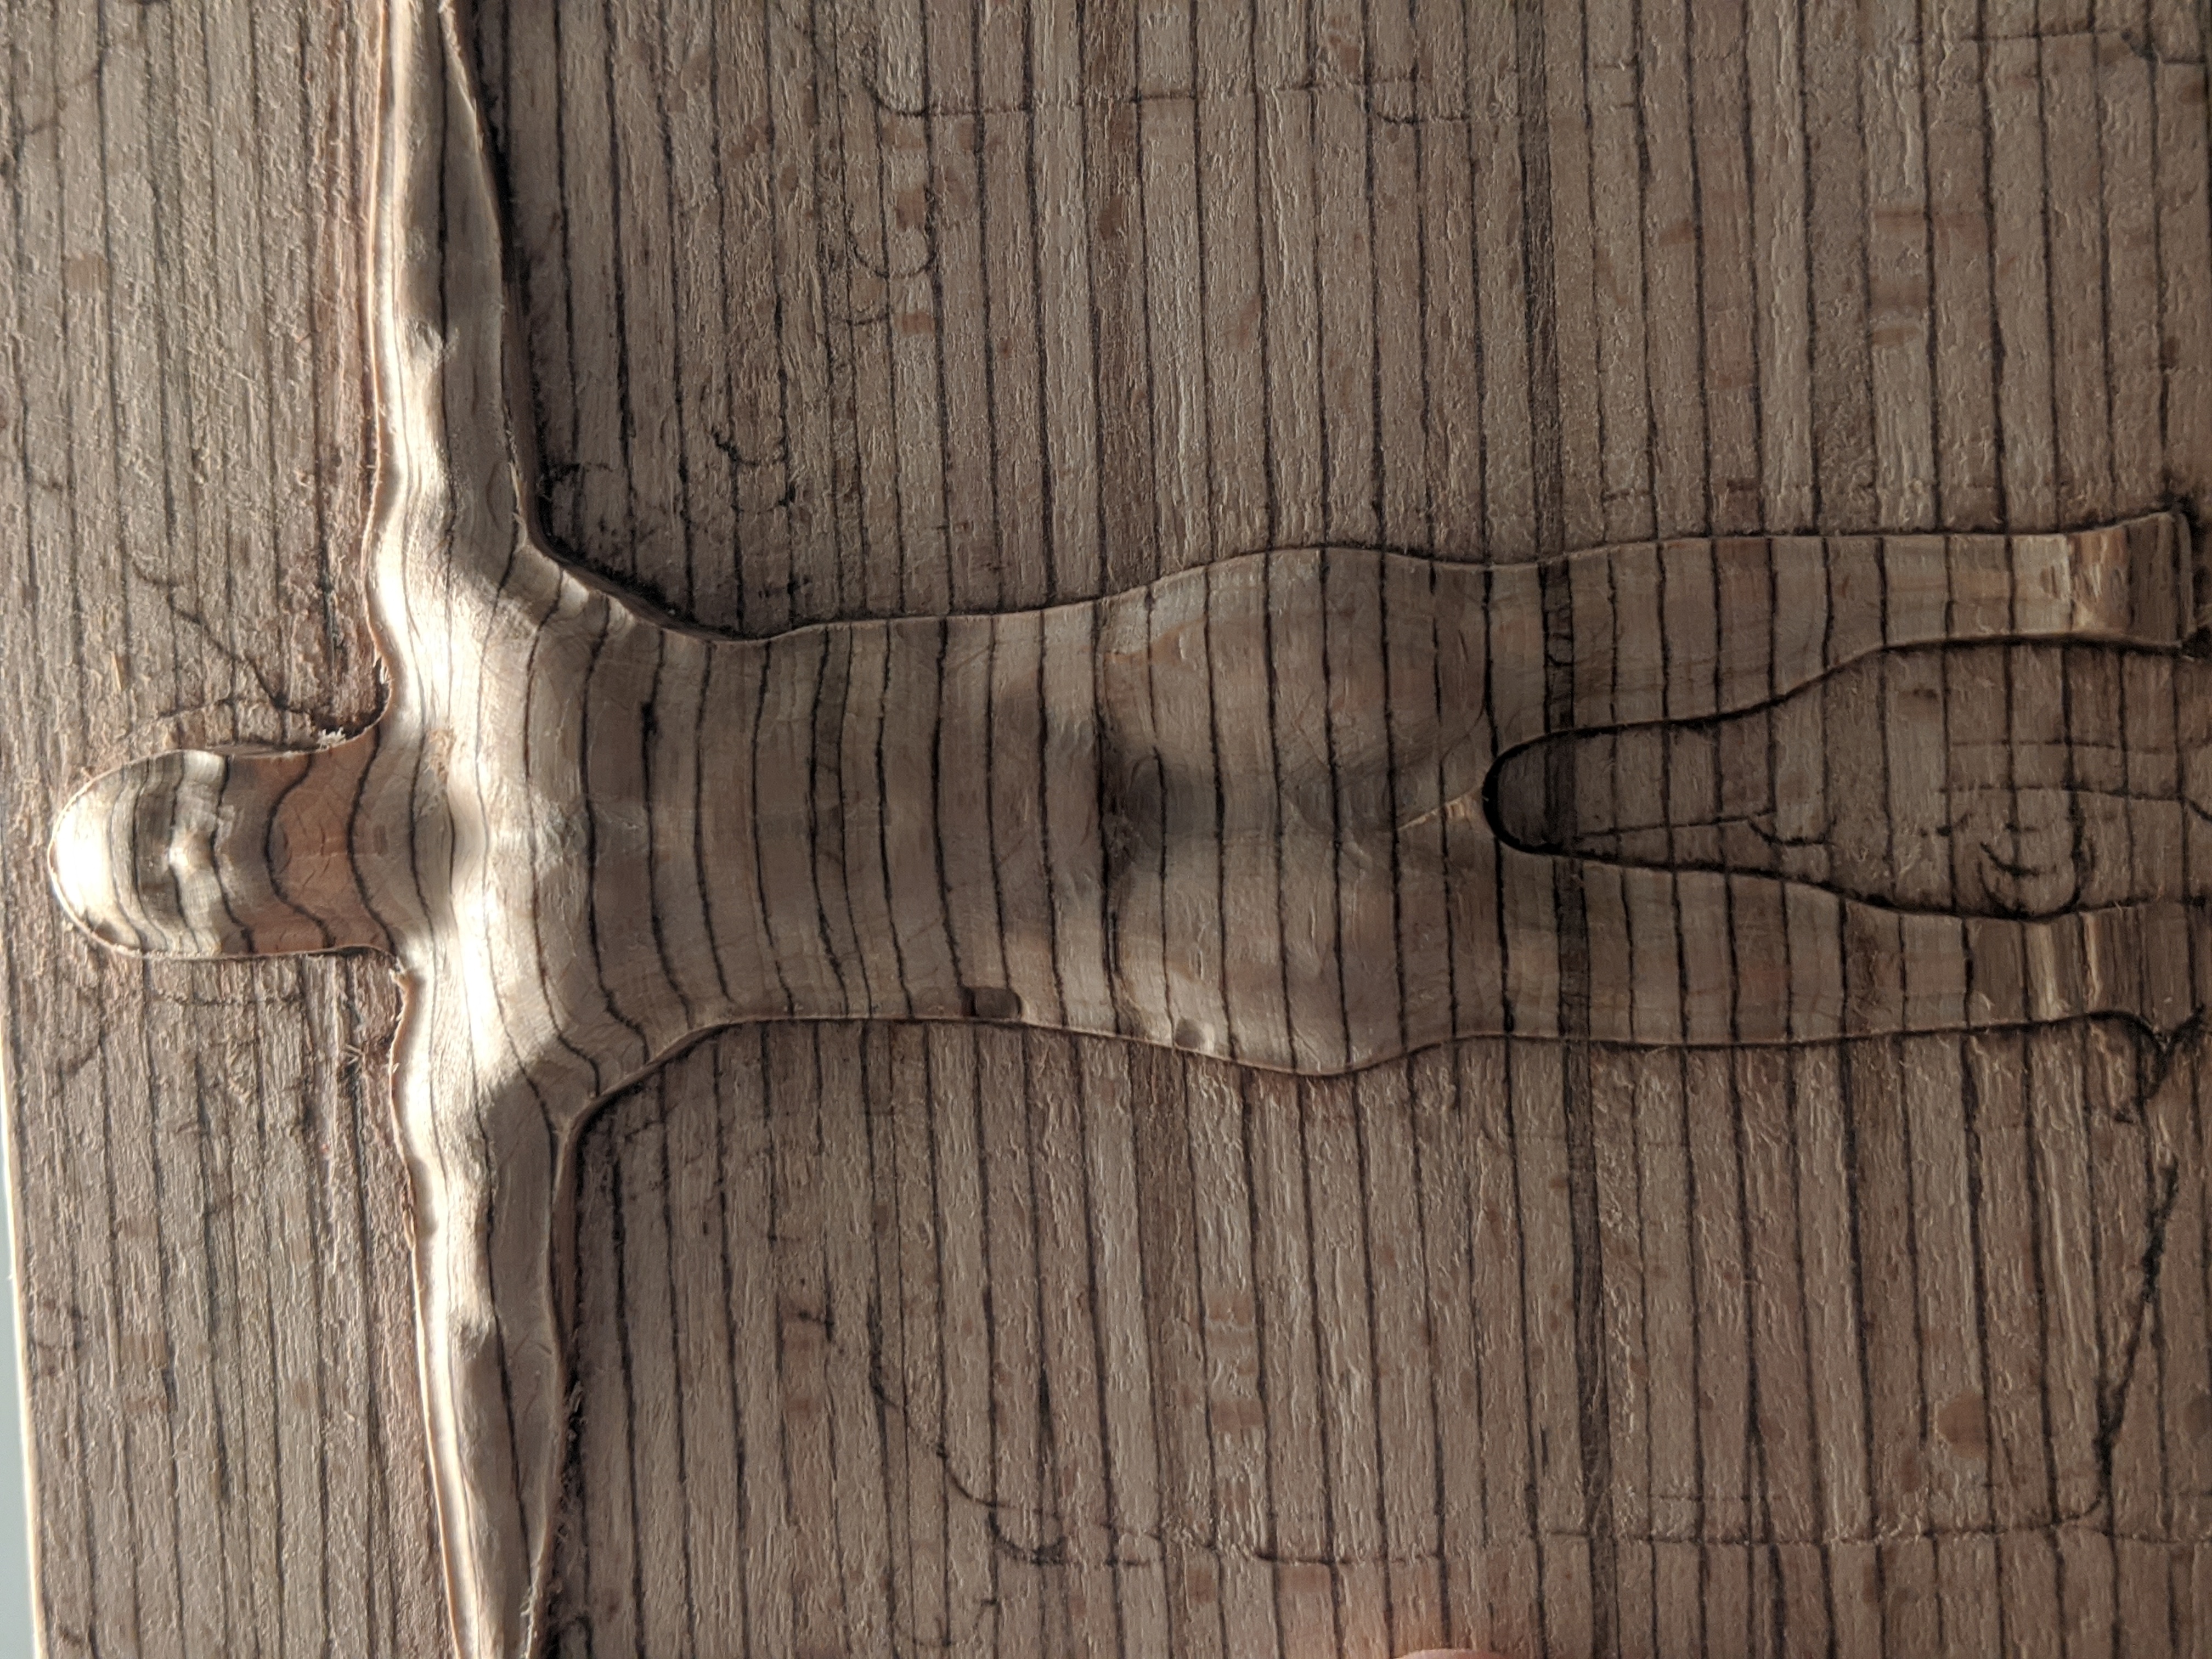
It's ok looking, not great, Let's try again but using wood, and making the models a bit biger! I use "baubuche" wich is 3mm slice of beech laminated with each other.. love the result, for my female model, my tool was a bit too big to make all the details, but I love the rouph style. Here are the result!